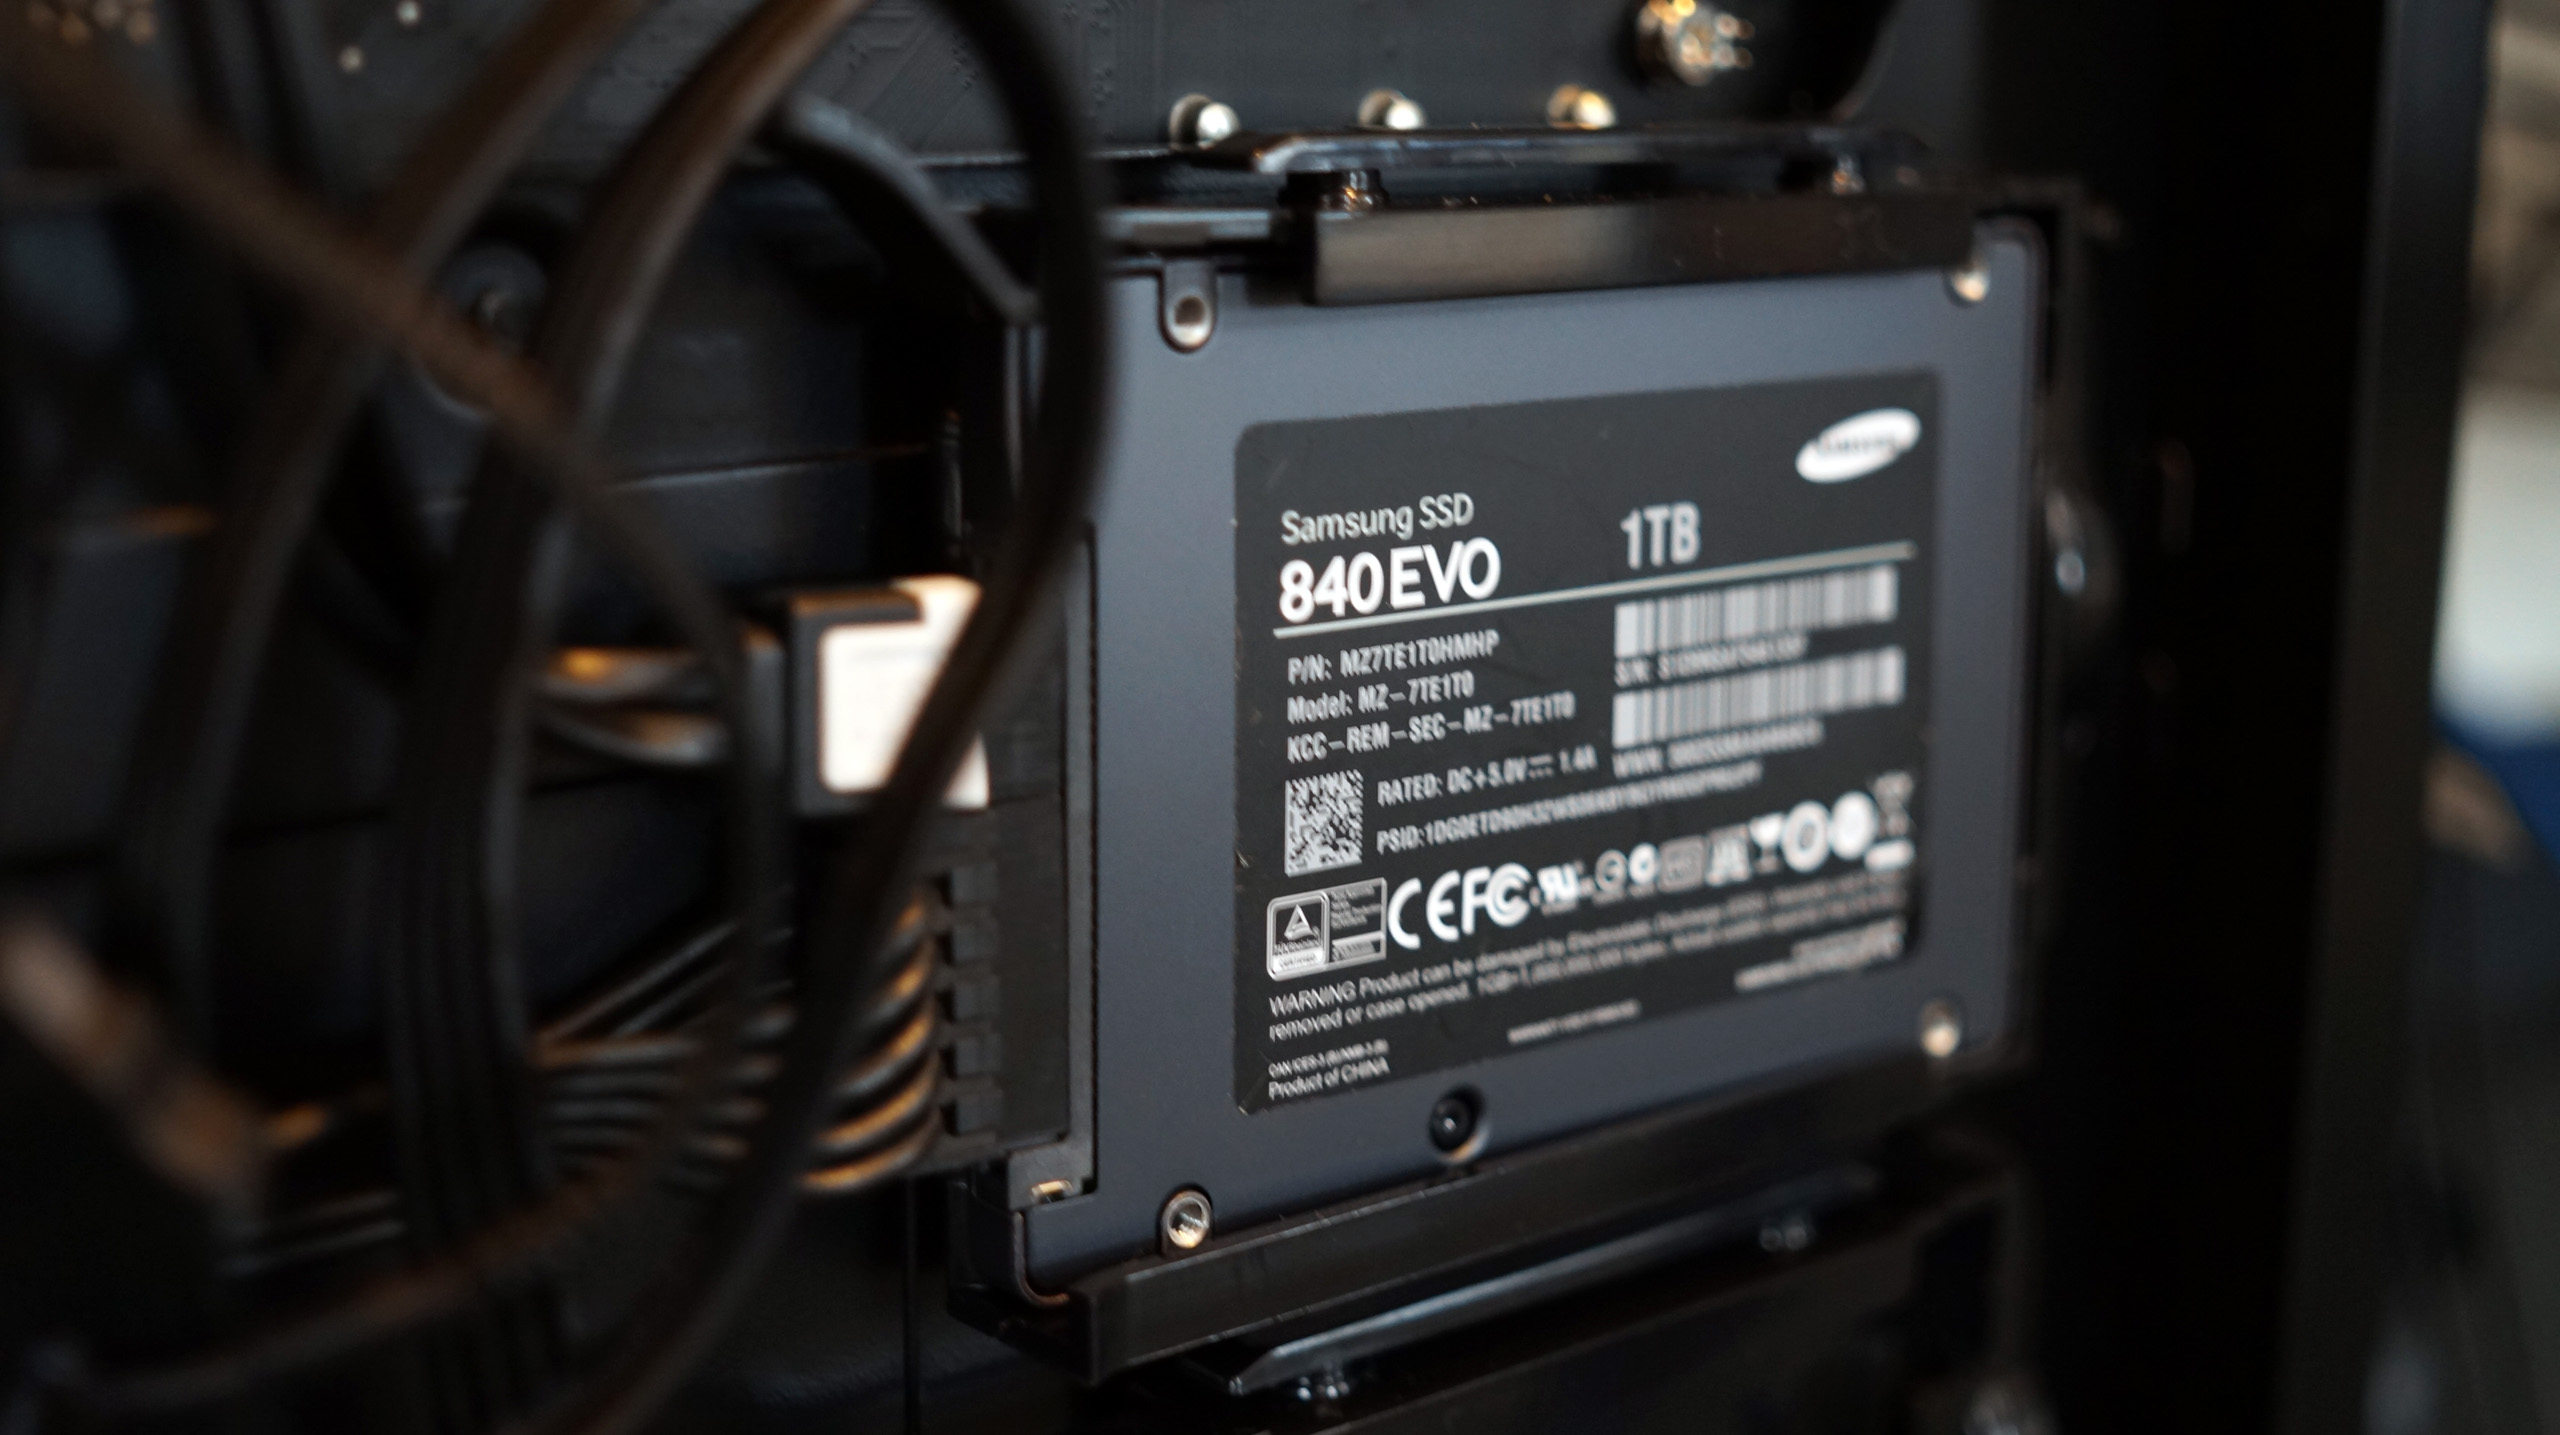
SSD is the recommended drive most gamers will choose when upgrading the disk drive of their gaming PC. The main reason for this is that it is faster to load video games from SSD drives than HDD. So if you are one of those people who want to upgrade your drive from HDD to SSD, then you might want to read this guide below. This guide will give you a complete step-by-step guide on how to install an SSD on your gaming PC:
STEP #1
Turn off your computer PC, and plug it off. Wait for your PC to cool down before placing it in a static-safe environment. Make sure to remove any plastic bags or papers near your workplace. Prepare the case then by removing the side panel/s of your case.
STEP #2
Look for a removable drive bay or a mounting spot for your SSD. Once you found a suitable position for your SSD, then the next thing you need to do is place it in its location and screw it in. Once the SSD is screwed in place, the next thing you need to do is connect its wire to the motherboard. This requires a SATA and a SATA power cable.
Get a power cable from the Power Supply Unit and connect it to the SSD. The only way to do this is by using the L-shaped connector by using the SATA power cable. It needs to be firmly attached, but don’t force it. The next thing you need to do is to connect the SATA cable to the motherboard. Plug the SATA port on your gaming PC’s motherboard.
STEP #3
After you have connected the SATA cable and SATA power cable, the next thing you need to do is install the M.2 drive. Locate the M.2 socket, which can be found under the heatsink on your motherboard. But it would help if you unscrewed the area to reveal the socket. Angle and install an SSD M.2 into the slot by carefully pushing it down the socket.
Make sure that it is installed in place before screwing it securely. This slot uses a tiny screw, so be careful when placing the screw. Tighten the screw but not too hard as it may cause difficulty. In some cases, some screws have been stripped. If this happens, the SSD will be very difficult to remove.
STEP #4
After you have installed the SSD drive, the next thing you need to do is to check if your gaming PC has recognized the new drive. You can do this by checking your unit’s BIOS to ensure that the SSD drive is connected correctly. To enter UEFI/BIOS, click Del or F2 as your gaming PC is booting up. In the BIOS, check if your SSD drive is present and correct. Once you have made sure, reboot into Windows.
Once Windows has loaded, right-click on the Start Menu and look for Disk Management. You can also search Disk Management on the search box in the taskbar. If it’s a brand new drive, Windows Explorer won’t recognize it because it will appear as a space waiting to be used by default. It is not configured as a drive that your operating system can make use of. So click on Disk Management, and wait for the logical volumes to appear at the top of the screen. The physical disks will also be displayed at the bottom. You can right-click on the drive to check its Properties.
STEP #5
Once your new drive has been recognized by your system, the next thing you do is to clone the partitions of your old Windows boot drive to make sure that your new drive gets a complete copy. Select the drive you need to clone, then click Clone this disk and choose your new SSD drive as the disk to clone to in the windows that pop up.
As it is a brand new SSD, it will be in a blank state, but there will be partitions on it. Select each of the partitions and delete all the Existing Partitions to clean the drive. Then drag and drop all the partitions from your primary boot drive to your new SSD drive. Once you have transferred all the partitions on the new drive, click “Next” a couple of times. Make sure to double-check that you are copying the right drive to the new SSD drive. Once you’re sure, click “Finish.”
The Cloning Process will take time and may finish in a few hours. So leave it be, and make sure not to turn off your unit.
STEP #6
Once the cloning is done, shut down your PC to reboot from your new SSD drive. As your system boots up, you will need to hit the DEL key to enter into BIOS. Change the boot priority to your new SSD drive so that it won’t boot from the old hard drive. If you have properly installed and cloned the disk, you will not notice anything different when the Windows initially boots.
Every program and file you have transferred will be found exactly where you placed them in your old disk drive. You will notice the only difference is that your video games and other programs will load quicker from the SSD than your old drive.
Leave the old disk drive as it is to serve as a backup. After a few weeks, if you’re sure that everything is working properly, you can choose to format the old drive to use as extra storage for your files or programs.
If you happen to encounter any problems with your system boot, you can always boot from your old drive using BIOS. Then you can try to clone the disk again to your new disk drive. Just make sure to delete the partitions before cloning the disk again. You need to repeat the process you did in Step 5.