Are you planning to upgrade your gaming PC’s processor? If yes, you will probably need a new motherboard if you plan to upgrade your CPU. It can be very frustrating to replace this hardware.
But before you go buying and replacing these components in your PC, you need to make sure that you choose the proper hardware for the replacement. If your motherboard or processor is malfunctioning, then it’s okay to replace them with the same model right away. However, if you want to upgrade the component, you need to do some research. Once you have bought the correct motherboard and CPU model for your gaming PC, you can install it in your unit.
Here are steps on how to upgrade the CPU and motherboard of your gaming PC:
Steps on How to Upgrade the CPU and Motherboard in Your Gaming PC
- Backup all of your data.
- Set up a place and get all the things you need.
- Unplug the power and all the data.
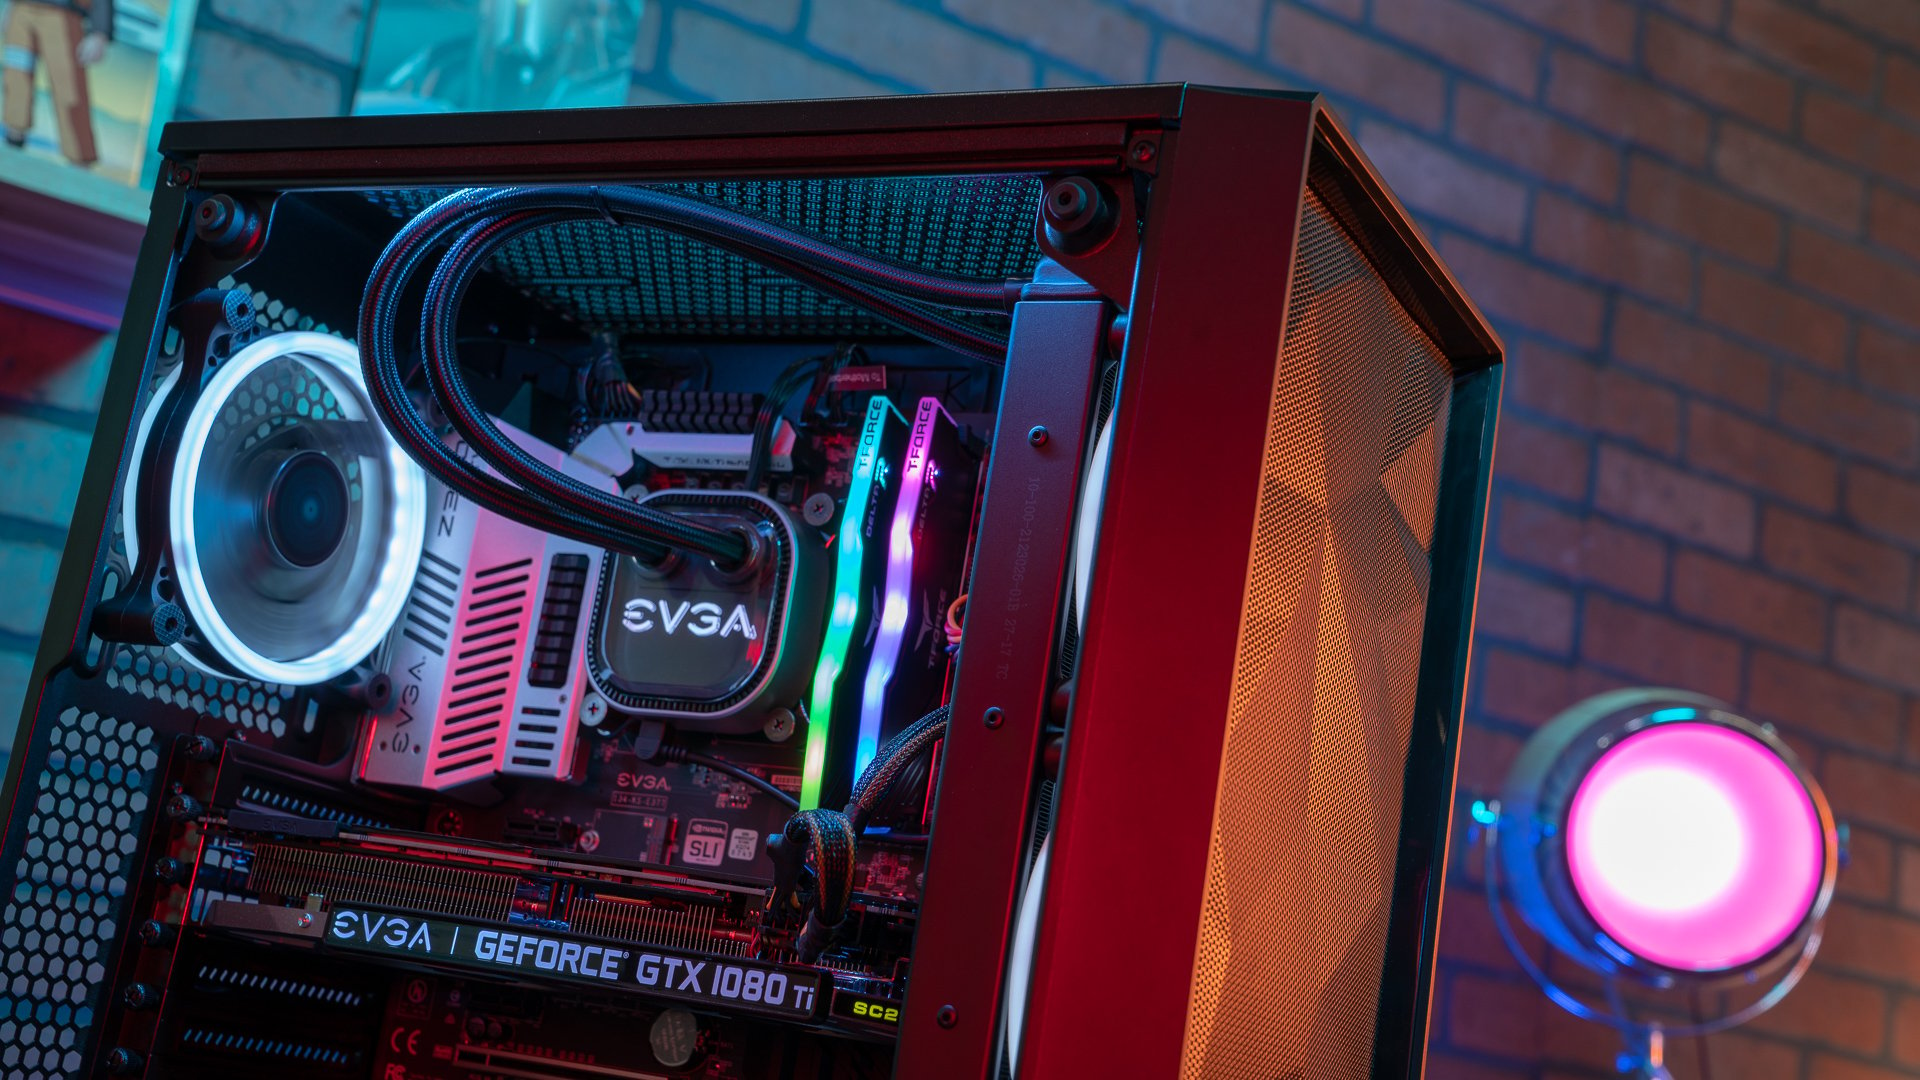
- Start by removing some of the components.
- Remove the motherboard.
- Install the CPU on your new motherboard.
- Install the motherboard in your CPU case.
- Test your motherboard.
1 – Backup all of your data.
Before replacing your motherboard, especially with a different model, you will need to reinstall your operating system. So you need to back up all the data and settings you have. This means that you will require installation media for your new operating system.
Upgrading your motherboard and CPU is more like building a new gaming unit.
2 – Set up a place and get all the things you need.
Make sure that you set up a clean place where you can work. You might also need several things when upgrading your CPU and motherboard. These tools include a Phillips-head screwdriver, cups or bowls to place the screws, and some thermal paste to replace the old one.
3 – Unplug the power and all the data.
Once you have set up your unit in your workplace, unplug all the power cords and the data cables from your PC. Start by removing the screws by holding the left-side access panel from the case. These screws are usually located at the back of the machine and are screwed into the edge.
After you have removed all the screws, slide the access panel off, then set it aside. Carefully put the PC on its side with the motherboard facing it up. The proper setup will allow you to look down at the motherboard and see its various ports and connections.
4 – Start by removing some of the components.
If any hardware components block your physical access to the CPU or motherboard, then you have to take them out as well. If you are unsure how to install them back in their proper place, get your phone and snap pictures of your setup. This way, you can refer to them later if you ever get confused.
Start with the graphics card, then remove the CPU cooler next. Unplug your hard disk drives as well as their SATA cables. You can then remove any case connections and fans. Ensure that there are no cables plugged in your motherboard before continuing with the next step.
The only hardware component that can stay connected to the case or motherboard is the RAM. It is easier to remove the RAM with the motherboard out of the equation.
5 – Remove the motherboard.
The next step is to locate all the screws holding the motherboard in the case. There are usually four to eight screws depending on the case and the size of your motherboard. If you’re not sure where you can find them, you can refer to your motherboard’s manual.
Once all the screws are removed, carefully grasp the motherboard with both hands and lift it from the case. You might need to pull it slightly to your right so you can free it from the case’s I/O plate. Once you have detached the motherboard from the case, set it aside.
6 – Install the CPU on your new motherboard.
Turn to your old motherboard and remove all the RAM DIMMs. Then switch to your new motherboard and install these RAM DIMMs in place. Once done, it’s time to install your new CPU as well.
Remove your new CPU from its packaging and insert it into the open CPU socket on the motherboard. It should slide easily in place and requires no extra pressure when installing.
Lower the plate and install whatever retention method is used on its socket. Do not use too much force. Don’t forget to manually install the thermal paste on top of your CPU socket.
Once done, the next thing you need to do is place the CPU cooler once done. You can just set it down and set it in place. Plug the power cable of the CPU fan into the four-pin slot on the motherboard, which you can find near the CPU.
7 – Install the motherboard in your CPU case.
Carefully lower the motherboard onto the risers and ensure that the small metal pieces will accept its retention screws. Adjust the I/O plate when needed. Also, double-check and ensure there are no cables underneath the board as you set it into place.
Proceed to screw the motherboard in place by using the retention screws. They should all be placed firmly, but don’t tighten them too much as they may crack and damage your motherboard.
Once done, replace all the components back to their place. And lastly, plug in the power rail from the power supply.
8 – Test your motherboard.
Once all the components and connections are in place, replace the case’s access panel back into its place. Screw it back securely. Then place back your unit and connect it to your monitor, keyboard, and mouse. Turn on the CPU and adjust the boot order in BIOS/UEFI if any of your SATA data changes position.
Reinstall your operating system and move all the files you need back to your CPU once it is done.

Namanh Hoang
Namanh Hoang is the Director of Branding and Marketing at CyberPowerPC and has over 30 years of experience in gaming and PC. His past experience includes consulting for numerous gaming brands in the industry including Intel, AMD, NVIDIA, and XFX as well as diverse brands from G4S to Urban Decay. He is also the founder of AskNam.com where he provides business, marketing and branding strategies. In his spare time, he enjoys playing video games and watching Anime.