It’s very frustrating if your gaming PC is not turning on all of a sudden. And what’s more frustrating is that it can be hard to fix it, let alone identify the problem. There are many reasons why your unit isn’t turning on. It can be the outlet, your GPU, or your cables. But that doesn’t mean you can’t try to fix the problem. There are several troubleshooting tips you can handle that can fix the problem.
Follow each step and tips below up to the most minor details. Each tip below can be done even by non-technical users. Here are the troubleshooting tips on how to fix your gaming PC it isn’t turning on:
1 – Check the power supply.
First, you need to check if your gaming PC is receiving power. This will be indicated if the LED inside your gaming PC lights up upon pushing your PC’s power button.
If the LEDs don’t light up, then you need to start by checking the cables connected to your unit.
- Step 1 – The first thing you need to check is the power outlet plugging your gaming PC. Check if it works by plugging a different device to know if any electricity is flowing.
- Step 2 – The second thing you need to check is the surge protector or the power strip connected to your unit. Ensure that it is correctly plugged into the outlet and that its power switch is on. You can plug another device into the power strip to confirm if it’s working perfectly.
- Step 3 – If the power outlet and the power strip are working correctly, look into your unit’s power supply on/off button. If it’s a switch and your unit is not turning on, then you need to check if the power cable is plugged into your power supply and your outlet. Remember that these two connections can become loose over time.
- Step 4 – Many people use the same cable as the desktop power supply unit. So try swapping out the monitor cable with the PC cable and check if the monitor turns on. If not, you need to test if your gaming PC will work with the connection powering the monitor.
- Step 5 – Another thing you need to check is the C13 cable. Some PCs require a higher gauge cable, so you might want to change the C13 cable.
If you have ruled out the power cords and the outlet, but nothing still works, check the cable setup inside your unit.
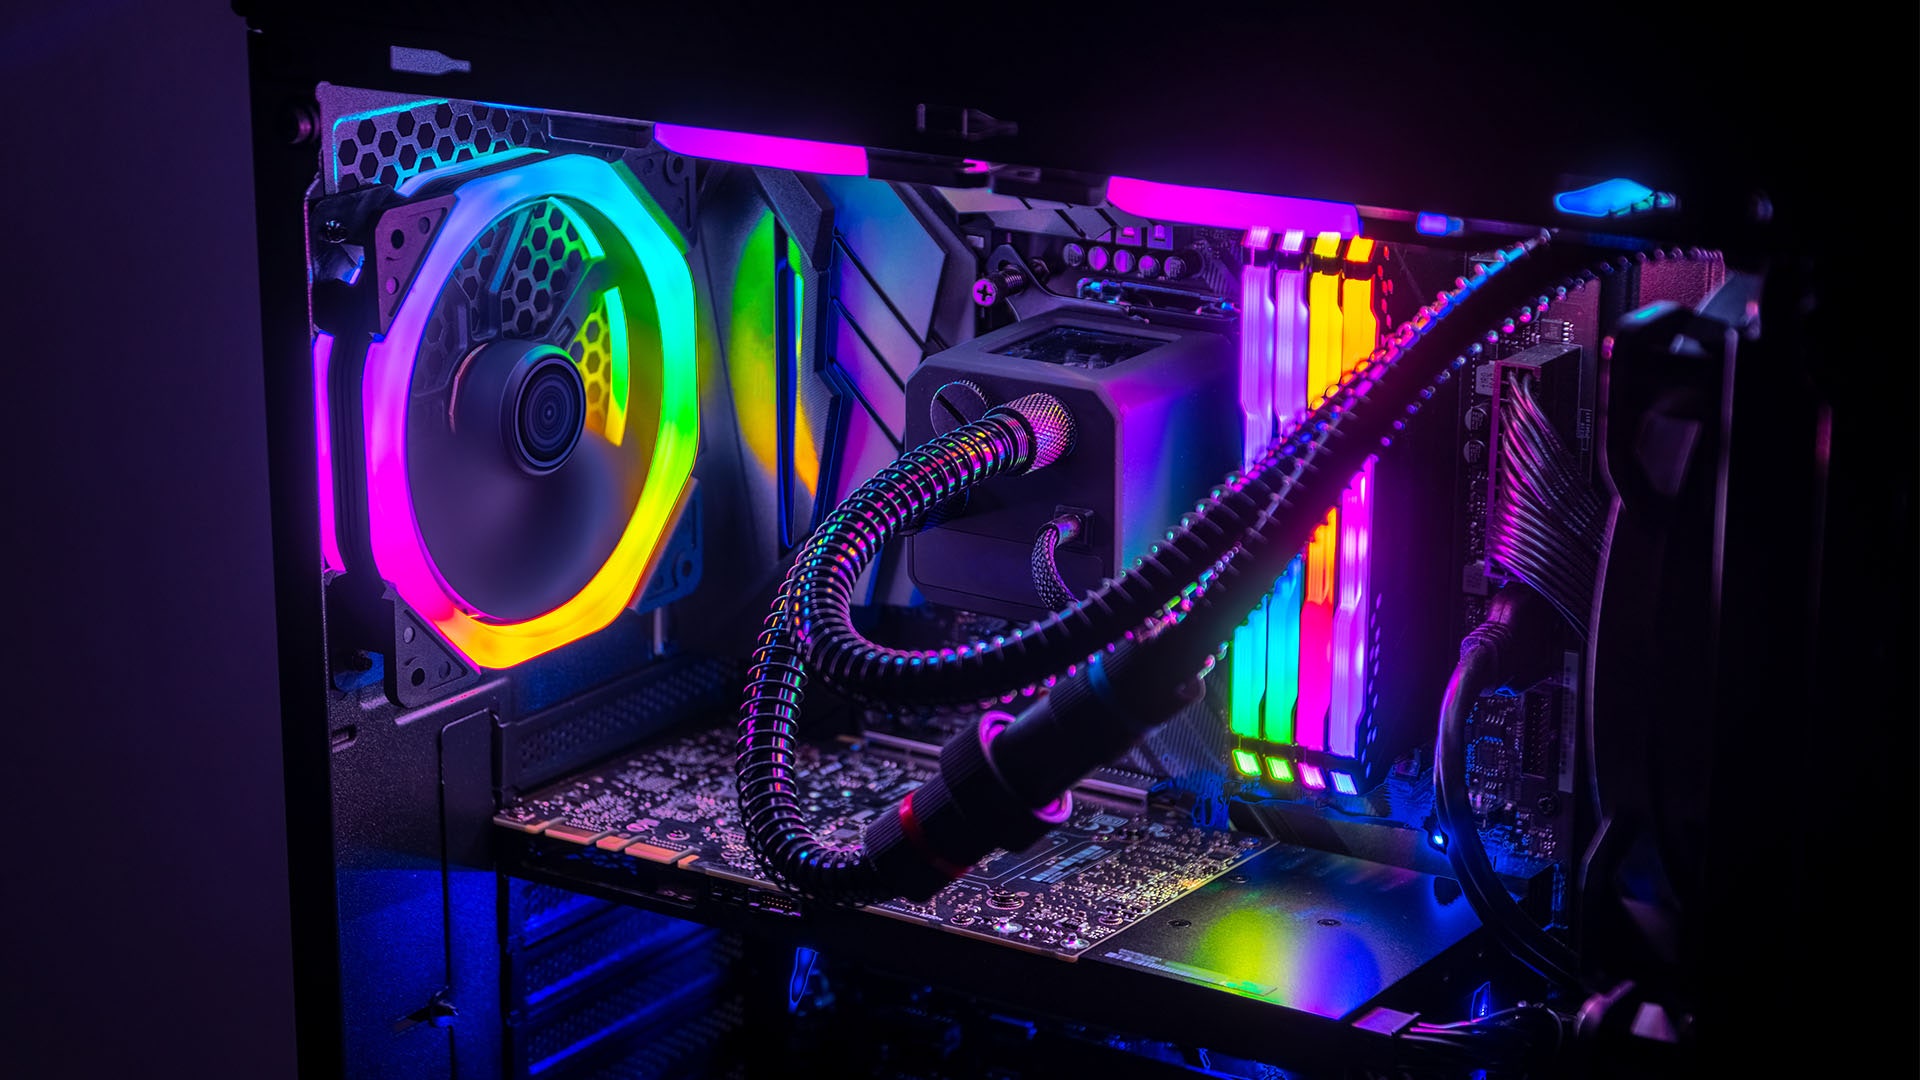
2 – Inspect your wires and cables.
If every cable outside is properly connected to your unit, you need to turn your attention inside your PC. Ensure that there are no malfunctioning cables. Before anything else, if you have a pre-built system, make sure that it won’t terminate your warranty. So you might need to call your PC manufacturer before you try to open your unit’s case.
Unplug all external cables.
For users who built their gaming PC, start by unplugging all the cables that run from your PC power supply to its outlet. Unplug all the external peripherals, such as the cables connecting your PC to the keyboard, mice, monitor cables, or external hard drives. Disconnect any display connections cable or USB devices as they can cause power issues. If the PC starts up without any issue, work on plugging each one separately until you’ve found the problem.
Check the wires inside.
If your unit isn’t working, unplug your PC unit and open the case to access all the internal components. Check all the connections from the power supply to the parts in your PC. Reconnect all the wires and double-check if all the cables on the power supply unit are correctly connected. If nothing is loose on either side, check if your PC turns on.
Check cables of main components.
If nothing works, unplug every cable connected to your PC. This includes the 24-pin and the CPU power cables connected to the main components, including the wires connected to your GPU, SATA, and storage devices.
Once everything is unplugged from the power supply unit, reconnect the motherboard and the CPU power cables, plug in your unit, and see if it turns on. If that does the trick, power down your PC system and begin to reconnect the power cables to each hardware.
Look for any cable causing electrical short. These problems can be caused by connectors with errant pins that touch the chassis. Motherboards screwed directly on the case also cause such issues, so you might want to add a standoff.
3 – Test all the components.
Next, you need to look into your hardware components. Start by removing the GPU, then your storage driver, and unplugging everything from your input/output. Remove everything except one stick of RAM installed in the first RAM slot of your motherboard.
Power your motherboard and CPU without the other components. Add one piece of hardware, then test if it works until you identify the problem. Repeat the system for each hardware until your unit fails to turn on. Once you’ve found which hardware is causing the issue, start troubleshooting the hardware or replacing it. You can also try upgrading the drivers of all your hardware components to avoid any future problems.
Last but most importantly, update the motherboard’s BIOS to its latest version. The process of updating its BIOS depends on your motherboard, so you might want to check your component’s documentation.
***
If none of the troubleshooting processes works above, consider getting your gaming PC checked by a professional. You might also want to upgrade some of your old components as they can cause future problems and affect your unit altogether. And if you have the budget, we definitely suggest upgrading the unit. You can check out a budget-friendly gaming PC that can run the latest video games at CyberPowerPC.com.