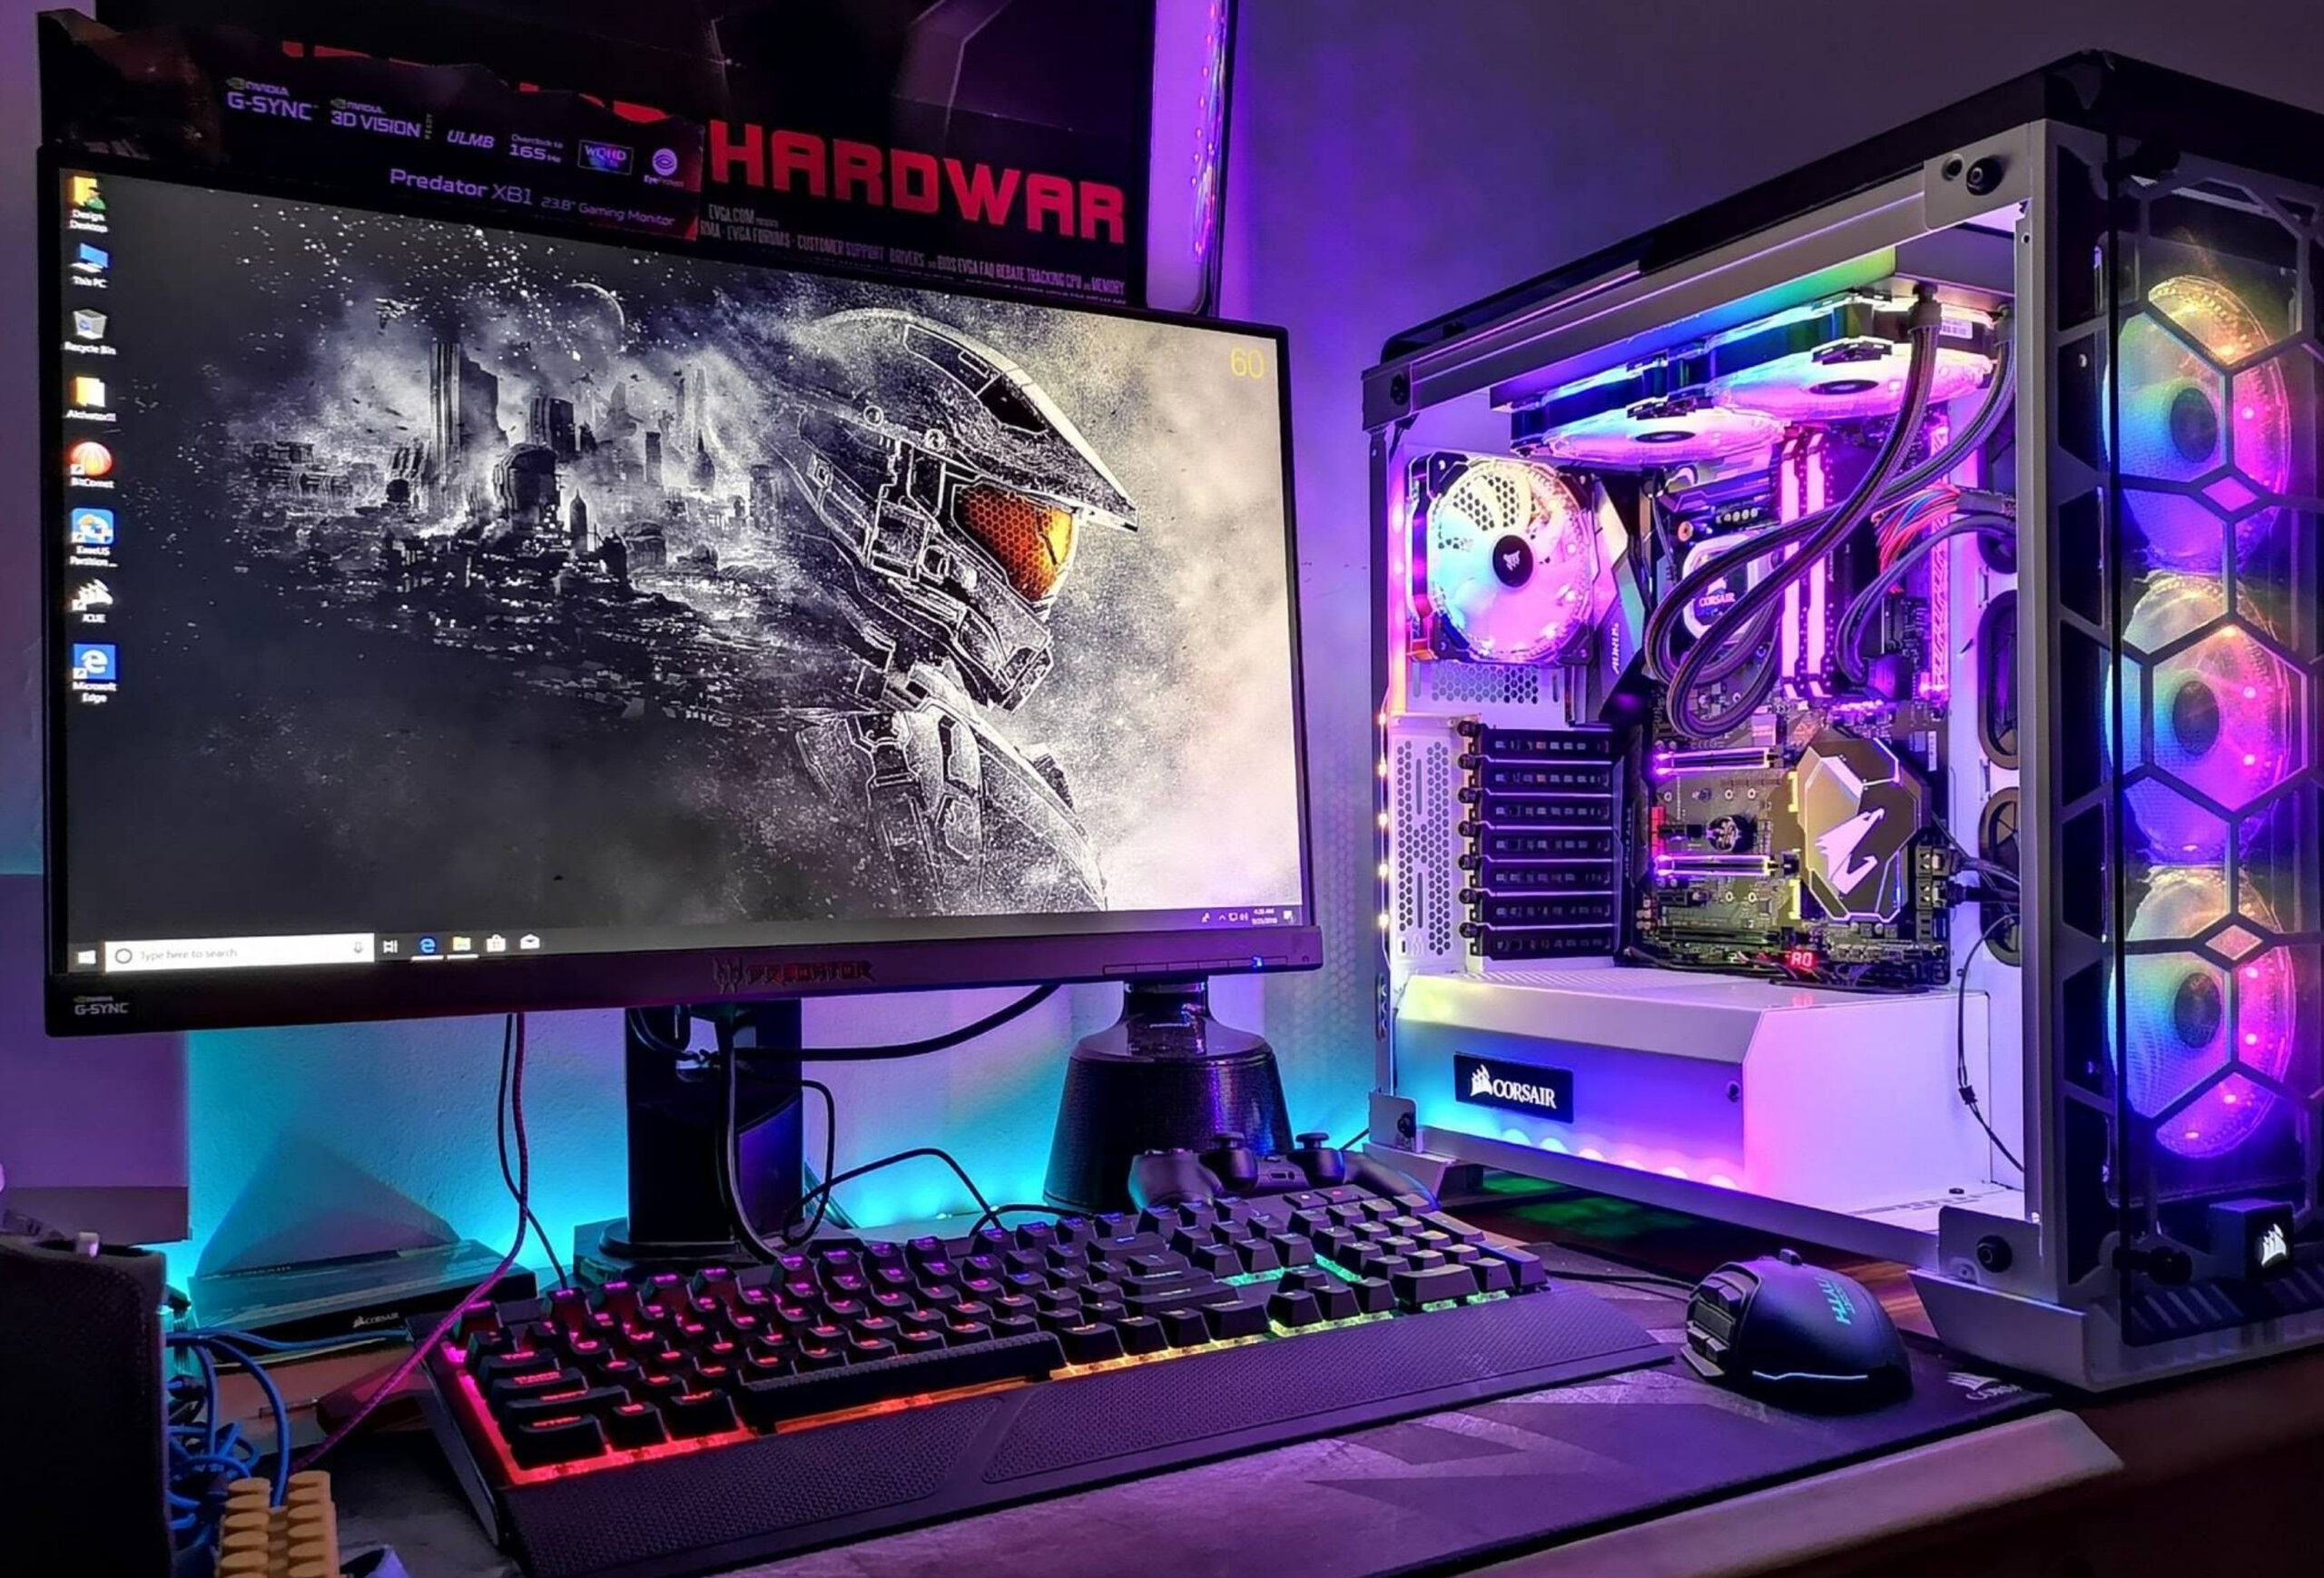
Unlike its older predecessors, Windows 11, similar to Windows 10, is ideal for users who own a gaming PC as it can support a variety of gaming software. It also has a feature called “Game Mode,” which, when enabled, will optimize the resources of your PC hardware for gaming and improve its overall performance.
But aside from Game Mode, you can do other simple tweaks to improve your gaming experience with Windows 11. Here are six tips on how to optimize your Windows 11 gaming PC for better performance:
Tip 1 – Make sure that your Windows is up-to-date.
The first important thing you have to do is check if your Windows 11 version is up-to-date. It is crucial if you want your PC to deliver optimized performance. They are going to be updated very often, so make sure that your operating system is continuously updated, especially if you are an early user of Windows 11.
To check and update your Windows 11, click the Settings icon in the Taskbar. Click Windows Update, found at the very bottom, then click the button that says “Check for updates.”
If there are any updates found, make sure to install them and restart your PC.
Tip 2 – Download your NVIDIA or AMD driver.
Windows update struggles to download and install the latest NVIDIA and AMD drivers. Thus, you need to go ahead and install your graphics card driver manually.
Go to your GPU manufacturer’s website to download the latest driver available. Check the links below for reference:
- NVIDIA Drivers: https://www.nvidia.com/en-us/geforce/drivers/
- AMD Drivers: https://www.amd.com/en/support
The website will automatically detect the GPU model in your system and then click the Automatic Updates Download. After updating your drivers, you will experience a huge performance increase, especially if you haven’t updated your driver before.
Tip 3 – Uninstall any software or apps you are not using.
Another good tip is to uninstall software or apps you are no longer using. It will help you free lots of space in your storage disk.
To uninstall software and programs, click Settings on the Taskbar and head to the Apps section on the left menu. Click Apps & Features, then run through the list of apps you have and uninstall those you don’t use anymore.
Keep in mind, though, that in this setting, there are essential programs listed. You might want to double-check any programs you plan to uninstall and make sure they aren’t crucial to your system.
Tip 4 – Optimize Boot TImes.
To optimize your boot times, open Task Manager by hitting CTRL + SHIFT + ESCAPE. Click the Startup tab and look for anything that is enabled by clicking Status to sort programs by enabled.
These enabled programs mean that every time you power up your PC, every single bit of software on this list runs before you can start using your computer. Such programs can cause your PC to slow down during startup and increase its boot time.
To disable these programs, right-click each software you don’t want to run during start-up, then click disable.
Tip 5 – Adjust your display resolution.
To improve the display resolution of your screen, go to Settings and click System. Select Display, then click on Scale. Set the scale to 100%, display resolution, and FPS to the maximum option advertised for your monitor.
After adjusting, you can view the highest possible FPS in your video games, especially if you own a high refresh rate monitor. For example, you can play games at the highest resolution available for your monitor, like 2560 x 1440 or 1920 x 1080.
And if you ever wish to lower the resolution in games, make sure to lower the resolution scaling if available before the actual display resolution. It is because scaling inside Windows can cause a performance drop.
Tip 6 – Optimize your PC power plan.
Next on our list is optimizing your Windows Power Plan. Hit start and type in “power plan,” click the “Choose your power plan” result. A window called “Power Options” will pop out, wherein you can edit your Windows power plan setting.
Click on Changed settings that are currently unavailable to be able to optimize the options. Usually, you will only see two options called Balanced and Power Saver. Ignore those two options and click the Show additional plans. It will reveal the third option, “High performance.”
Choosing high performance uses more power to improve your PC desktop, pushing its performance to the next level. But remember that you will need a good cooling system to ensure that your desktop won’t overheat from consuming more electricity.
***
By following these six tips, we hope you can further enjoy the performance of your PC. Share in the comments if you have other suggestions to improve and boost the performance of Windows 11 PCs.