This is largely unedited and these are thoughts that are coming to me since our first clear. I apologize if things seem out of order.
My group at this point in time will have beaten the entirety of Creator Savage and had a lot of fun doing so. This was our first full raid tier together and for many of us, we’re the first to beat it in some our guilds. We formed during the tail end of Midas and while we beat A5S and A6S, we did not have enough time to truly dive into A7S because of the next patch coming out.
We are a casual raid group that raids for two hours a day for only two days a week. Our schedule allows us to be done early since we raid right at reset and to focus on other things after we’re done with clears and progression. Because of our limited schedule, I recorded each pull to go back and review how we can improve and I had additional people review our videos to make sure we could ensure quality pulls and progress on the next raid night. It was only when we took our break and went back into 12 that we found out how rusty we were so it took us a couple of weeks to get used to the pace of the floor.
For my thoughts on Alexander Creator Savage, the DPS checks were extremely light and I felt like there were more mechanics and tendencies that we had to learn while progressing. I thought the DPS checks were such a joke that we didn’t need healer DPS at all. Although when our scholar started to DPS, we started to skip more mechanics and we just got used to not seeing very much. I actually found that groups who were struggling actually made the fights harder than they seemed. We probably could have cleared much earlier but because of real life coming into play, we had to take a break from progression.
Another thought is that tanking has changed from tier to tier where there used to be “main tank” and “off-tank” designations but now they share responsibilities as co-tanks. In a lot of cases, it’s better to have the Warrior pull and then have the other tank swap because of how much aggro a Warrior can build and transfer to the Paladin/Dark Knight. The communication between the tanks is important because both players have to plan ahead for incoming mechanics. In this raid tier, both tanks end up holding the boss for a very long time until a mandatory swap occurs. As far as the three tanks are concerned, the Paladin skill set wise is good but in the current meta, it has lost its place and needs to be reworked to compete. I thought I was going to cheese the cooldown reset timers more by randomly using Hallowed Ground for busters but I never found a reason to so I felt like there was no real difference because we talked between every pull. Also planning cooldowns is extremely important because of how long the encounters are, there is a point where Hallowed Ground and Living Dead will come back for the final busters. The idea that cooldowns should be used in emergencies is something that also sounds extremely stupid because they help the healers plan their DPS and heals out.

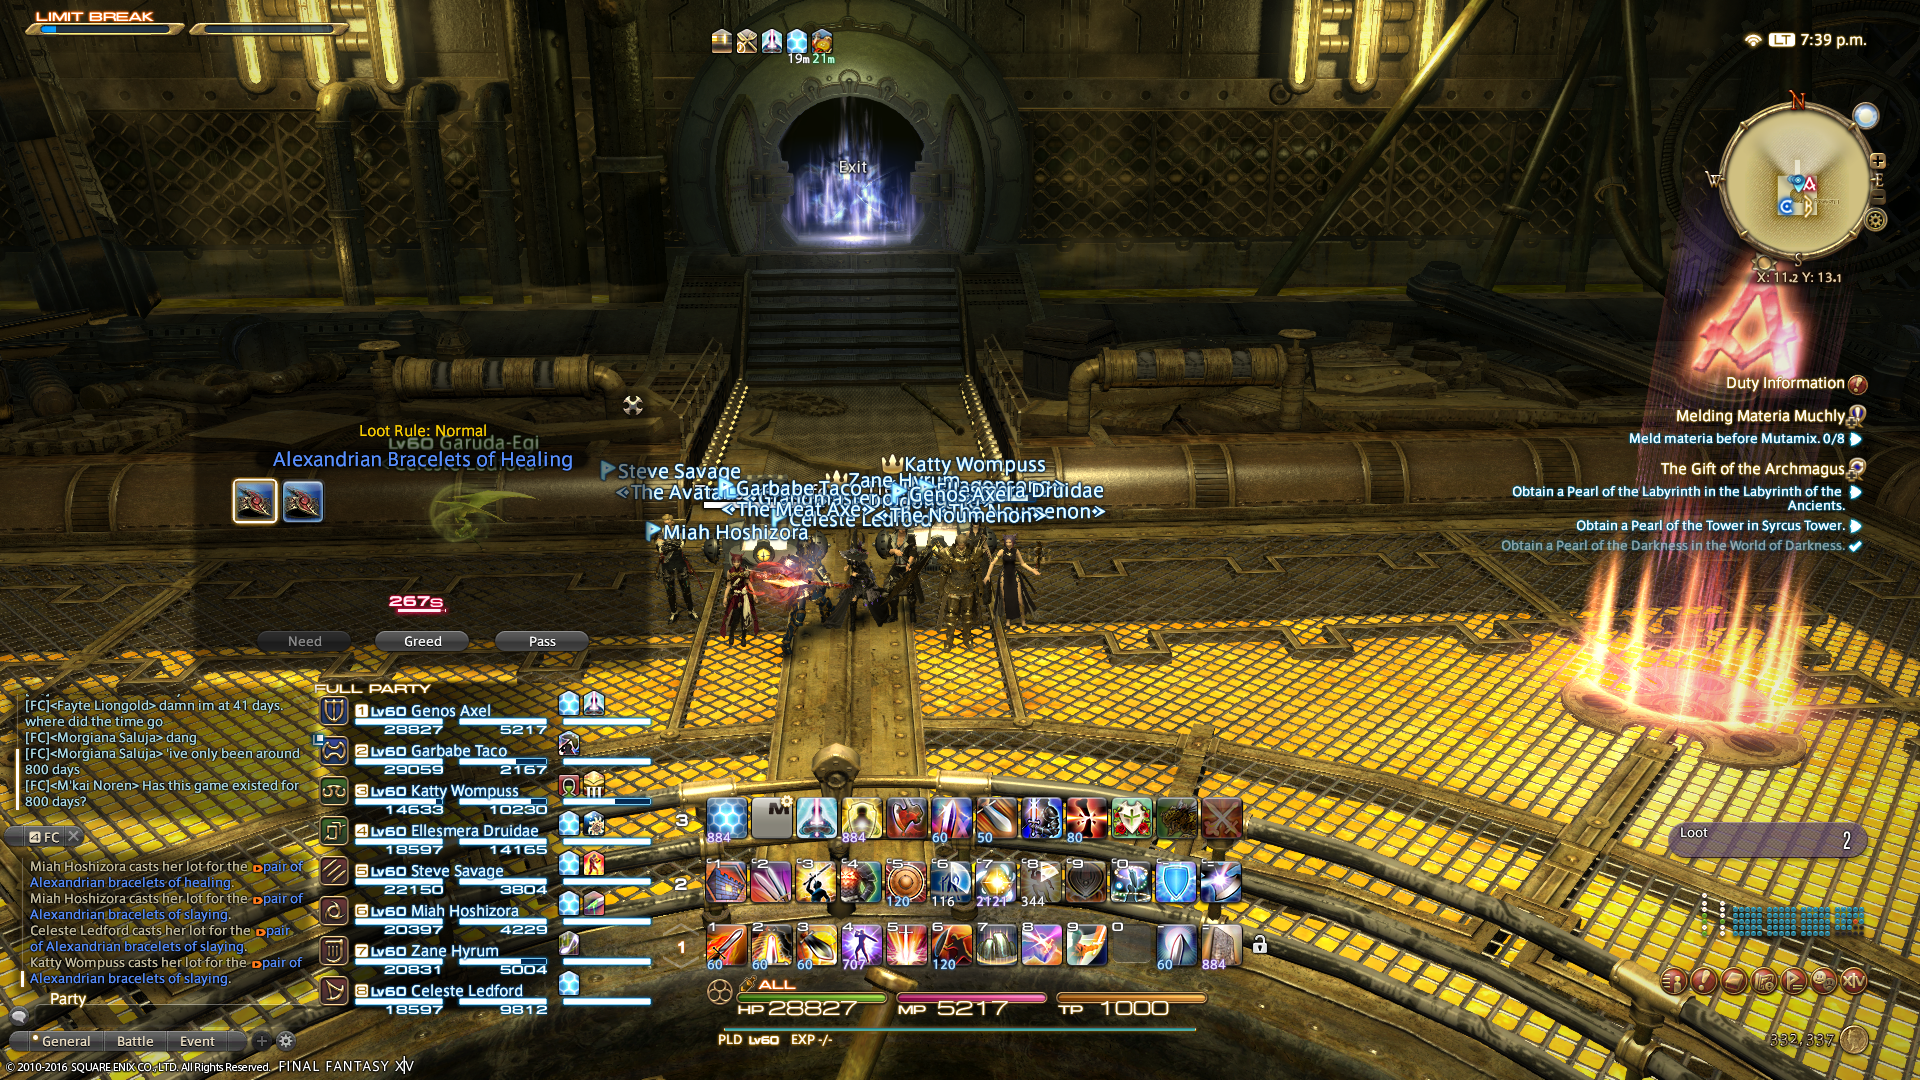
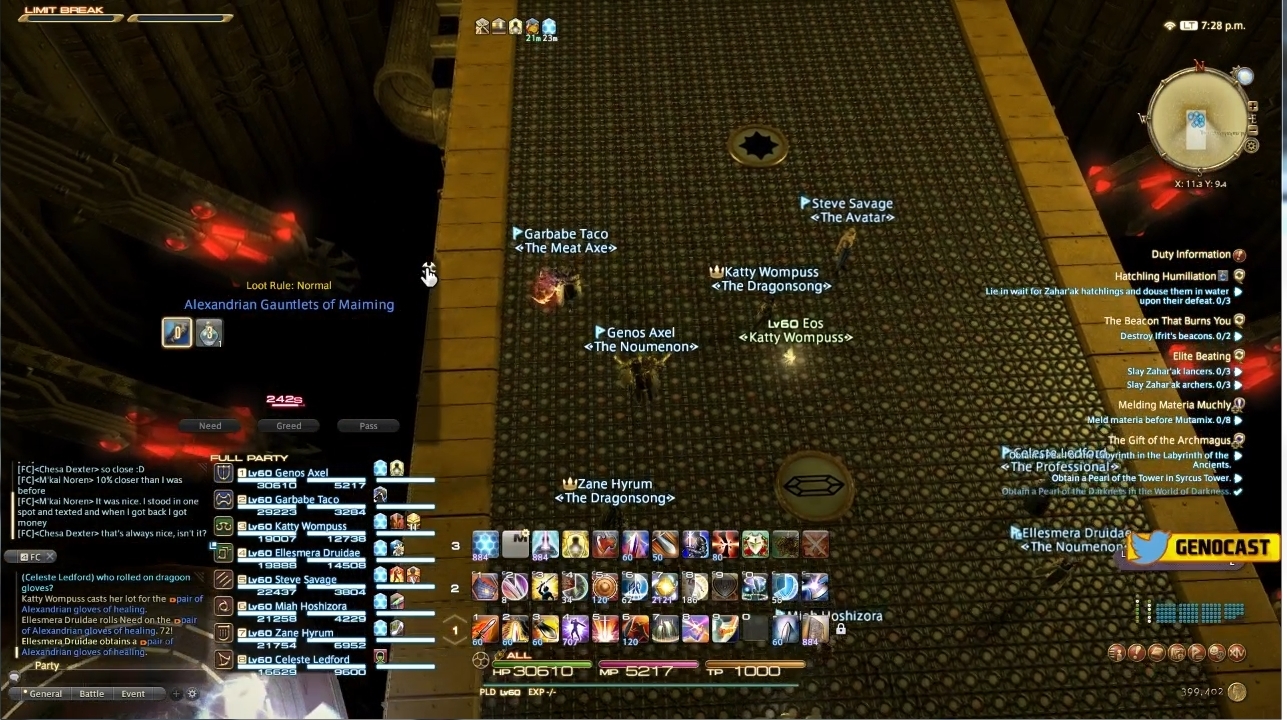
We start with A9S. My group cleared this in two lockouts without watching a video. Nothing really has to be said here other than learning the Alarum placement and where the “main tank” should be rotating the boss. This fight wasn’t very difficult and I randomly called for a burn at 16% because I felt like we should move on to the next floor. Most people should at least be able to clear this one because it’s a joke.
For a lot of the player base, the Faust outside and inside will probably be a reality check that they need to learn their classes and to stop equipping intelligence rings onto a healing class or vitality accessories on their dragoon. To add insult to injury, I had a couple of 220 accessories on because I forgot that I had different names for different gear sets. (Clear Date: October, 5, 2016)

A10S is my favorite fight in this entire raid simply because every pull is different. The most interesting thing is how many interpretations there can be when playing this fight out. Knowing what is coming up next is key to beating this fight. This fight along with A11S rewards extremely high DPS because the party actually takes less damage because tank busters and AoE damage can be skipped entirely.
For us, we hit enrage once because we had 11 deaths and when we cleared we had eight which is still terrible. It should be a testament to how non-existent the DPS checks are in this raid tier. I’m going to tell you that I still accidentally had a couple of 220 accessories on and we still cleared so I don’t think there’s any excuses here. (Clear Date: October 18, 2016)

A11S. This is the fight most people are stuck on because it tests people’s awareness and adaptation and then it becomes a giant healer check in the later phases. The reason why most people don’t clear is because they forget to play out the mechanics correctly and what holds them back is their inability to adjust to what we call “situational football”. Deaths in bad times or taking vulnerability stacks can ruin a group’s run. While there are different ways the last phase is handled, it all comes down to the group either doing two-point or three-point method correctly.
The tower phase isn’t too hard because it’s mostly a repeat from the beginning but the towers take damage. Damage to the towers isn’t the end of the world but it creates a soft enrage that I find extremely interesting because it puts pressure on the raid to do enough damage to clear before the mechanics completely wipe the group. The first half of the towers is the hardest phase because there’s so much chaos that it can be hard to sort through and a death can be extremely punishing and hard to recover from. After propeller wind and shield, the fight becomes a giant burn. I think there are two correct ways of handling the tower phase but Xeno’s strategy is the best one to use.
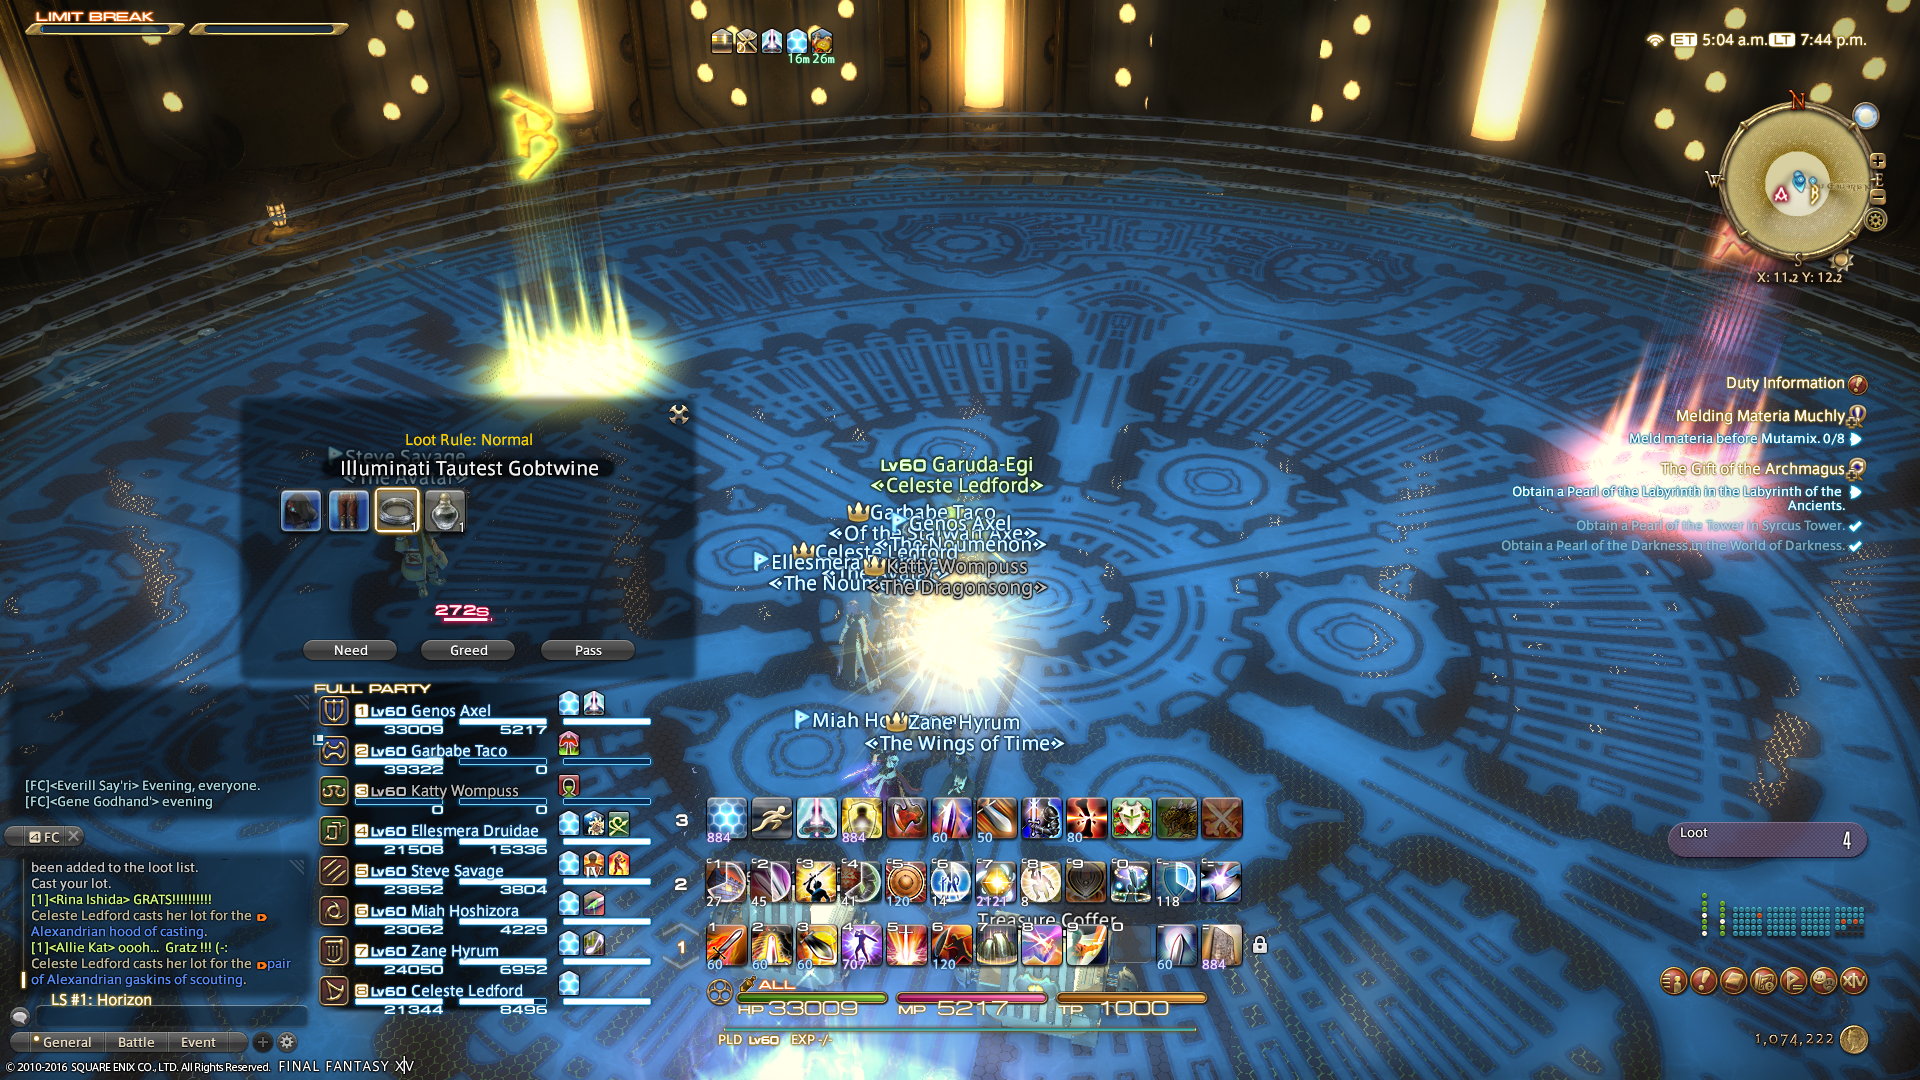
For us, we needed a little bit of gear from A10S along with some of us on Sophia weapons to beat this fight. While we don’t have the highest DPS, we are probably a good example of what damage groups need to beat the fight. I actually had the right gear on but we felt like we were undergeared so we had to play almost perfectly on our clear run. Otherwise, I felt like people can just memorize the fight and it’ll be easy to recall from memory when to gamble in certain moments. Despite being a test of memorization, I still think this is the hardest fight in the tier. (Clear Date: November 23, 2016)

A12S is the last floor and it’s a healer check. If your healers aren’t on point and if they don’t know when damage will occur, your group will struggle because everything hits hard. There are many interpretations of how the fight can be done and I think they are all correct but it’s up to groups if they want to adopt those strategies. The add phase is a DPS and healer check but it shouldn’t be difficult if groups are clearing A11S. Most groups will need their ilvl 270 weapon and pants and everything should be manageable.
Mechanically, the first phase is a joke and the dark circles can be baited to better identify safe spots. Learning this fight is not very hard but it can be sketch in the final phase because of how fast everything occurs. The clear should come soon enough which is a huge relief to how much hell A11S can be.
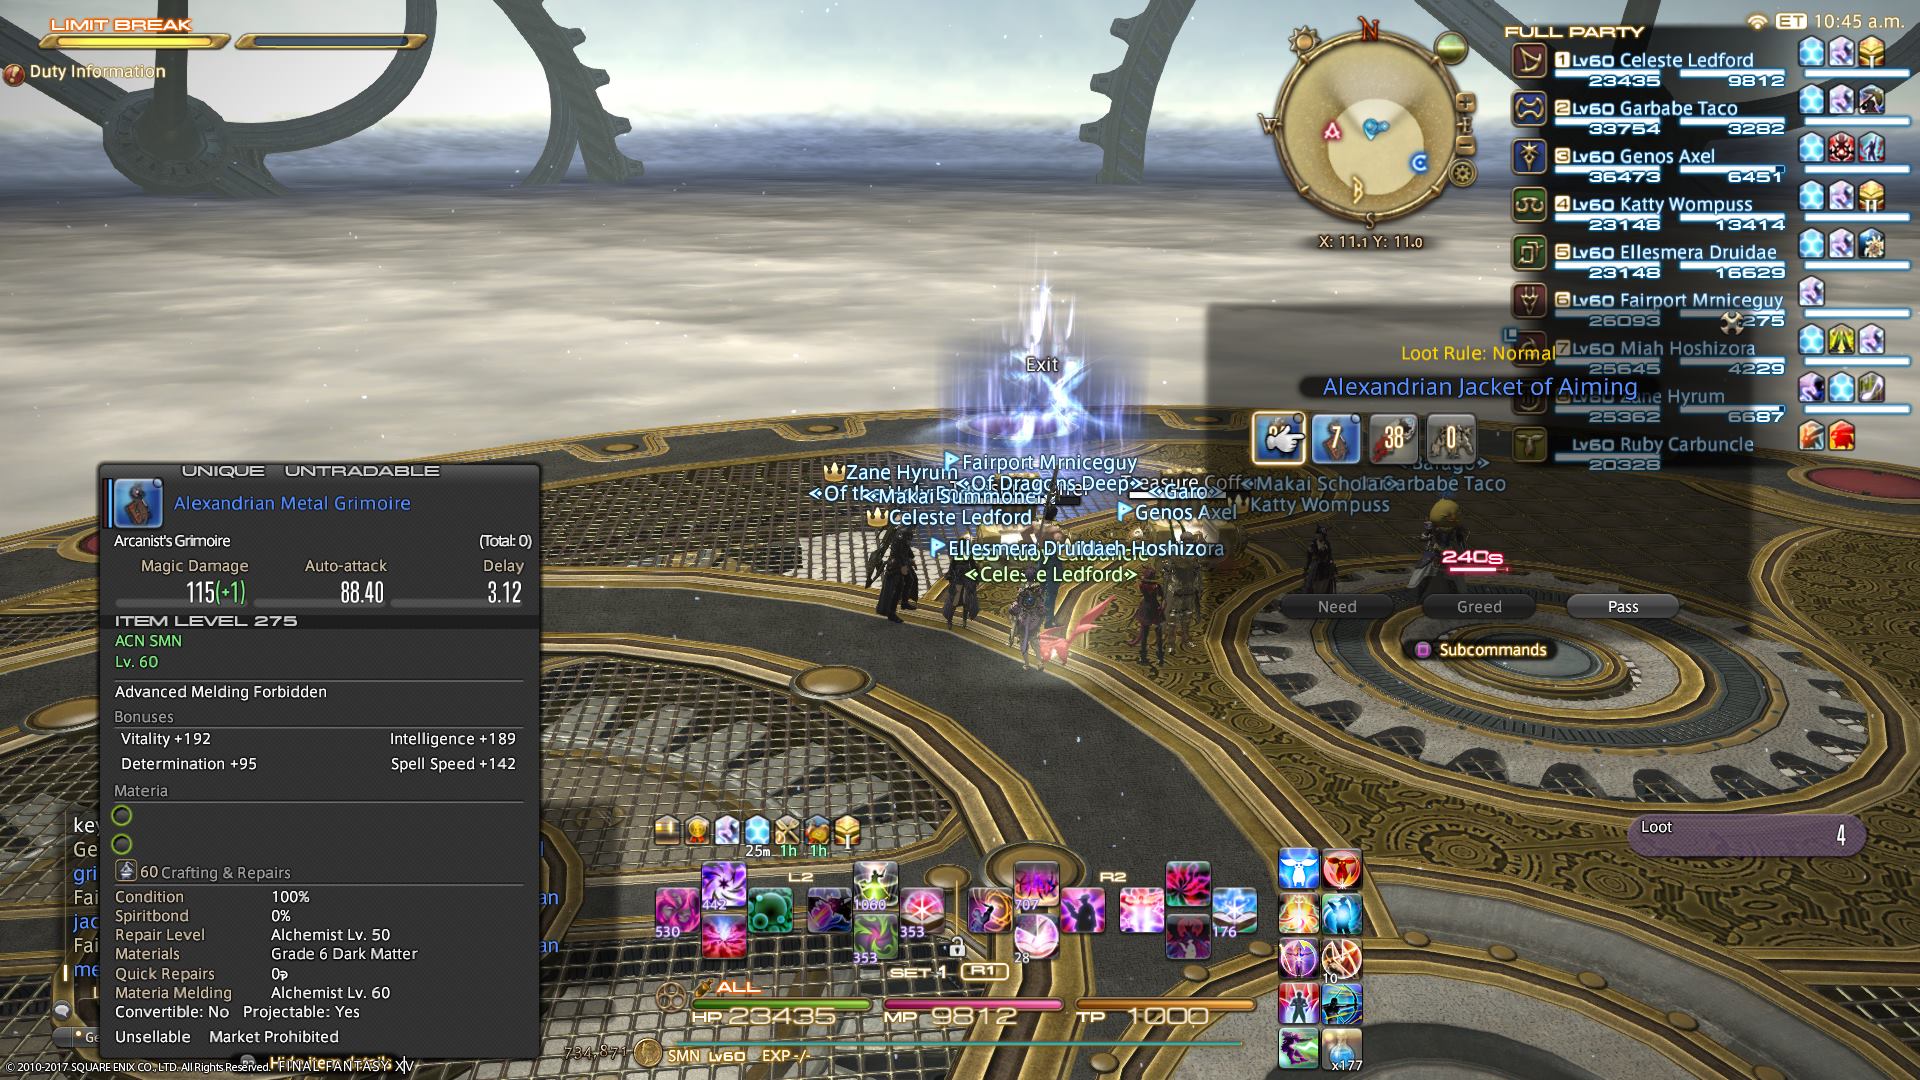
For us, we started this fight early but we took a break and came back recently to clear it. I think that knowing when big damage is coming out is key to winning. As long as there are heals and mitigation, the group should be fine and it should not be too long with clear. The only real advice I have here is for all paladins to switch to dark knights because of magic damage and buy flowers for your healers after you clear. (Clear Date: February 15, 2017)
Final Roster:
Genos Axel (PLD/DRK)
Garbabe Taco (WAR)
Ellesmera Druidae (AST)
Katty Wompuss (SCH)
Steve Savage (MNK)
Miah Hoshizora (NIN)
Zane Hyrum (BRD)
Celeste Ledford (SMN)
This raid tier is definitely clearable with pug groups and it isn’t nearly as hard as Midas or Gordias but I think it’s the most fun of the three so far. Midas is mechanically the hardest raid tier to me and Gordias is mechanically the easiest but the DPS checks were more than what most people could handle. Creator is a step in the right direction in terms of raid design but I think it can be a little bit more difficult. I think everyone should give it a try.
There are a lot of people I have to thank and while we run with eight members, I always felt like we carried a bit more than that.
Shoutouts:
CyberPower PC for letting me write this and to Machinima for the Youtube support and I’m pleased to announce that I’ve re-upped for a long time. It’s great for the backing of the FFXIV community
Fairpoint Mrniceguy (Excalibur) for subbing in and helping us with clear A12S. Everyone should be looking to pick this guy up for their group
Maguro Magnum (Cactaur) – helping with strats and looking at videos of our entire progression, also for offering to transfer with 10 stacks of HQ Priestly Omelettes
Lexia Faerun (Coeurl) – keeping me sane during progression and for looking at the video footage also for providing advice on healing that we kind of took
Kakashe, GM of Angered (Ragnarok) – A10S strats and Dark Knight technology
Sweaty Boxer (Midgardsormr) for providing my group’s A12S strat and for being a sound board for my dumb quotes
Paradigm, SodaCan, Baguette, Erick Daniel (they don’t play this game), Kira Kitsune – maintaining my energy level and whatever is left from my sanity and for reminding me why they gave me the jersey
Ignasse Poisson for the HQ Priestly Omelettes (I got six initially and it cleared on the very first one I ever touched)
Joe Rogan – the infinite amounts of Baked Pira Piras and for providing some group members Steamed Staff
Rina Ishida, Zakaus Zthith, and Morgiana Saluja – crafting my equipment because I had 220 ones on and for showing me a new Full Metal Faust tanking strat
Allie Kat and Sha’ira Mihgo – putting up with my meld requests in odd places and my superstition
Morgeth Barenstark and Fiyero Flynne – showing me new paladin technology
Kazi Ratus – showed new A10S tank strat and for playing Foe’s for Mya and Lalaith
Lalaith Firestorm and Myasen Barenstark – showing me that a double mage comp actually works
Kira Hatake – helping get me tokens for Sophia weapon
Flara Starburst – nature pictures helped me relax during the weird times in raid and for trapping with me in learning parties with my White Mage
Kahare Rare, Jak Mar, and Hack Frost – subbing for group last minute
Levi Zelman – helping us learn A9S on day 1 and I got you your clear later
Valaeris Galaxy – giving Baked Pira Piras and letting me try strats
Frosty Mogborn (Gilgamesh), Caster Class, Rhys Arrior, Bellator Lucis, Based Ryuko (Balmung), M’kai Noren, Chesa Dexter, Emiya Shirou, Lu Gonghu, Iris Xiphium, Emma Crofte, Altamira Panceta, Rig Havel, Lysarm Aurifort, Nidea Kriess, Zachary Binks, Lira Lune, Hotrod Wilder, Riaky Zone, Rule of Rose FC, the Situation Room LS, Horizon LS, Chateau LS, Swash Mcbucklin (Leviathan), and Happy Funtimes Discord