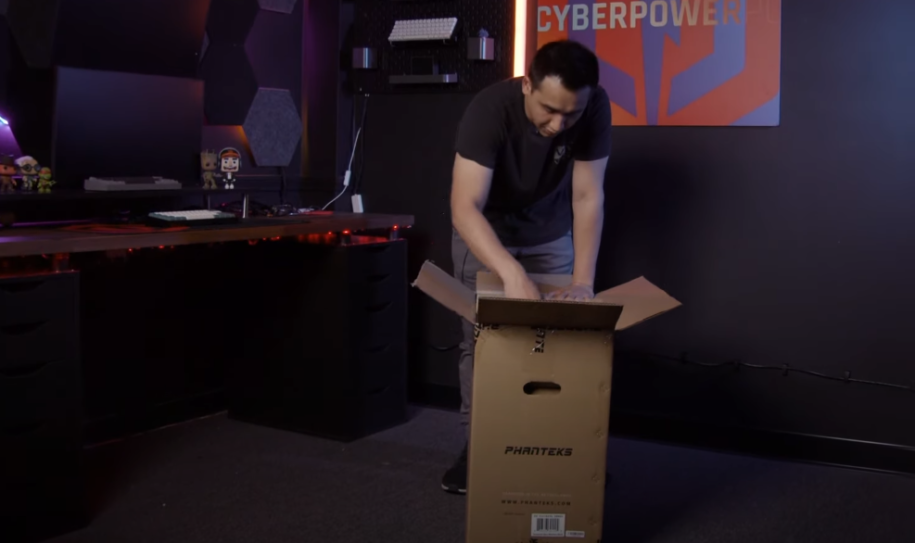
Step 1: Open The PC Box
Shocker. The first step in opening anything is to, well, open it. Grab some sort of tool to slice the tape, whether that be a pen, scissors, a knife, sword, axe, plasma cutter, or really anything you have on hand that can cut the tape keeping the box closed.
With the box now open, remove any loose contents placed on top of the PC. In most cases these will be your accessory boxes that contain your cables, keyboard, and mouse – along with any other additional accessories you added to your PC order. In the instance that not everything fits in the PC box, accessories may be shipped in an additional separate box.
Step 2: Unbox the Accessories
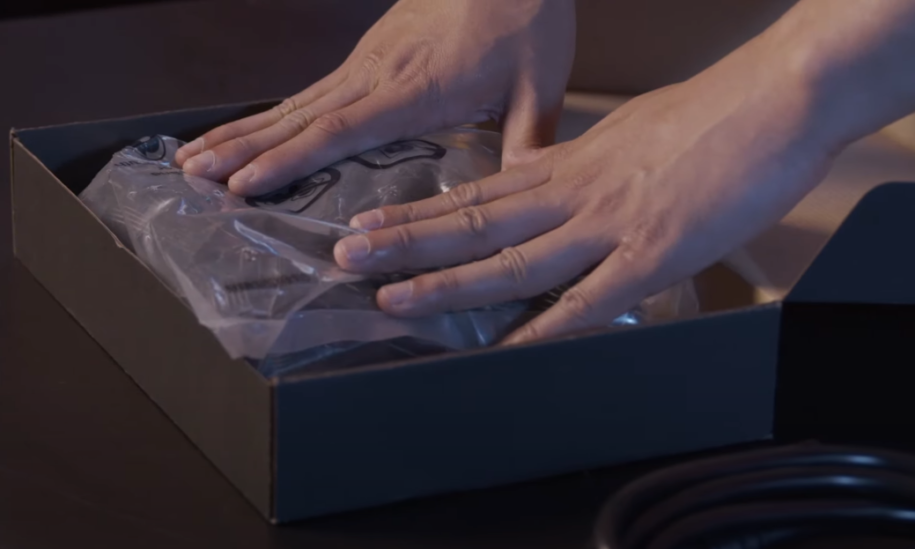
With your accessories now out of the main box, go ahead and open those up to see what is inside. You should have a box that has your PC’s power cable, along with any other additional things that came with your motherboard or PC case. Once you have located the power cable, go ahead and set that to the side for now.
Step 3: Slide the PC Out of The Box
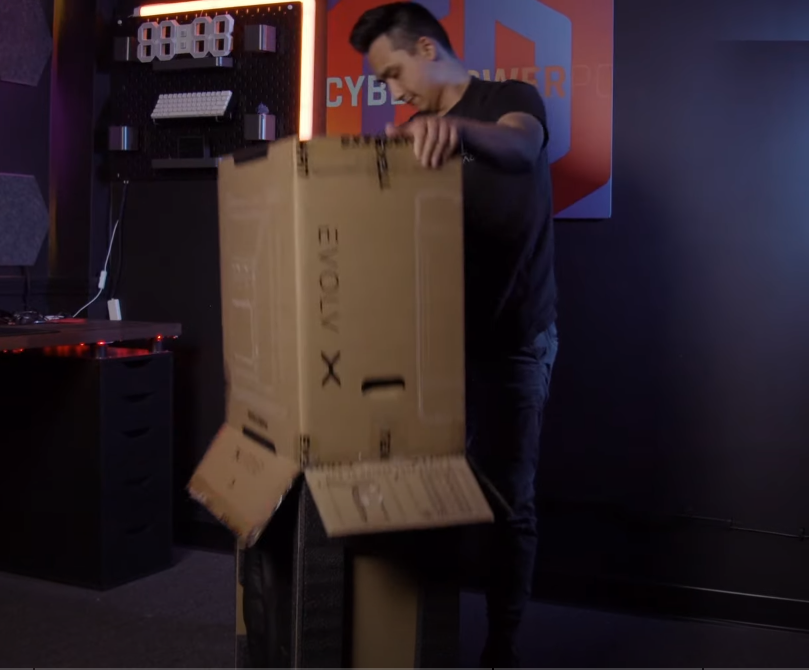
Now on to the main event. The easiest way to remove your PC from the outer box is to first carefully flip the box over on to it’s side (see picture for example).
With the open side of the box now facing the floor, gently lift up on the box. It should slide up, while the PC and it’s protective foam covers remain stationary on the floor.
Step 4: Remove Foam & PC Cover
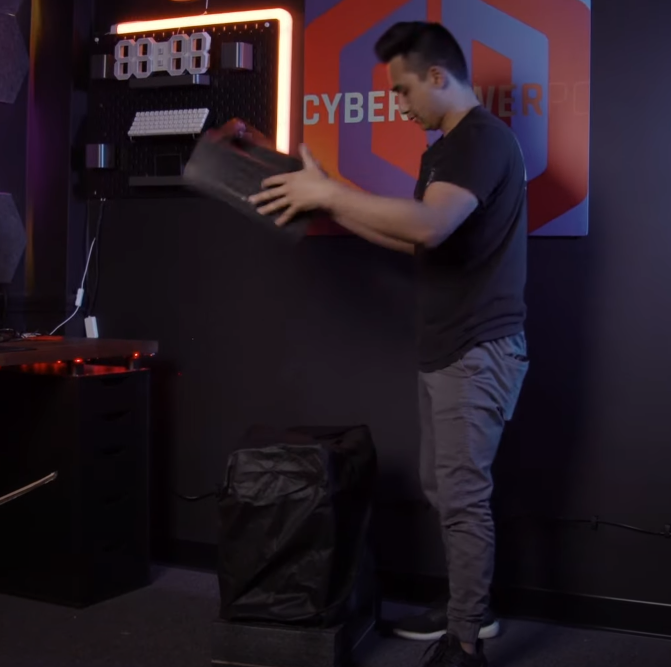
At this point your PC is actually upside down. Remove the top protective foam padding and place it in your box. Your PC will be in either a cloth or plastic bag that was put on to prevent scratches during shipping. Slide that down your PC and place it along with the other shipping material in the now empty box.
Flip your PC right side up and remove the remaining foam cover. Congratulations your PC is free. Take a moment to admire how cool it looks but not too much time because you are not quite done with the unboxing process yet.
Step 5: Remove the Side Panel
Now that we have your PC unboxed, you are going to want to lay it down on it’s side – with the internal components facing up at you.
How you get the glass panel off will depend on the case that your PC has. In general, there is usually either screws on the corners of the glass, at the back of the case, or on a hinge that you just open up like a door.
Once you figure out how to completely remove your side panel, place it flat on a safe spot for now.
Step 6: Gently Remove Internal Protection Foam
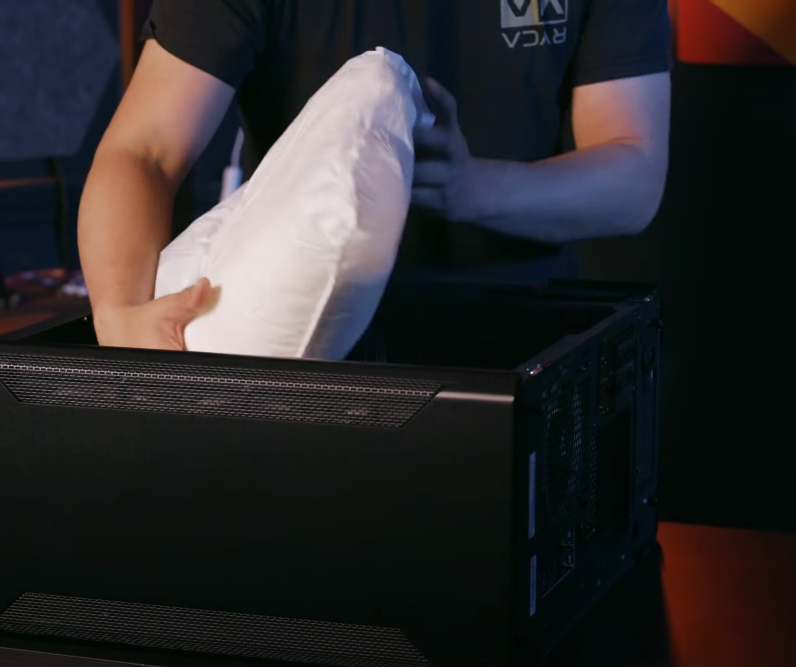
Inside your PC you will see a block of expanded packing foam. This foam block is used to protect your PC and it’s internal components from damage during shipping, as well as help cables stay connected by minimizing internal movement.
Gently remove the foam by pulling it out of the case. Keep your foam in the box along with all of the other protective packaging materials.
While the foam generally does a good job of keeping everything connected and intact, it’s important to double check your components before continuing on in the setup process.
Step 7: Check Components
After removing the foam you will want to check on your power cables, and certain components such as your RAM and your graphics card.
Looking down at your PC, in the top left corner you will see two cables. Double check these and gently press on them to ensure they are securely connected to the motherboard.
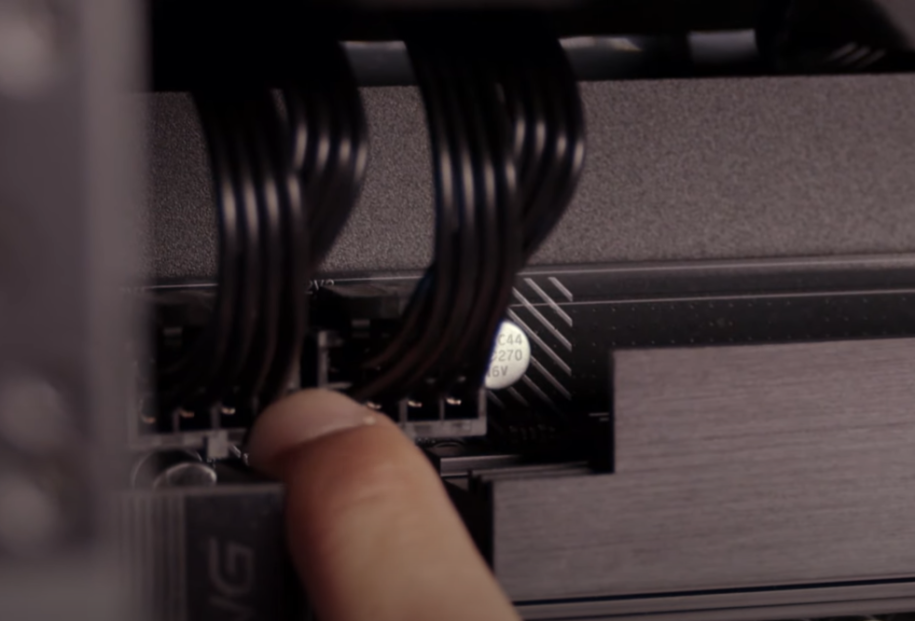
More towards the center of the motherboard will be the main 24-pin power cable. Repeat the same process, double checking that the cable is securely connected to the board.
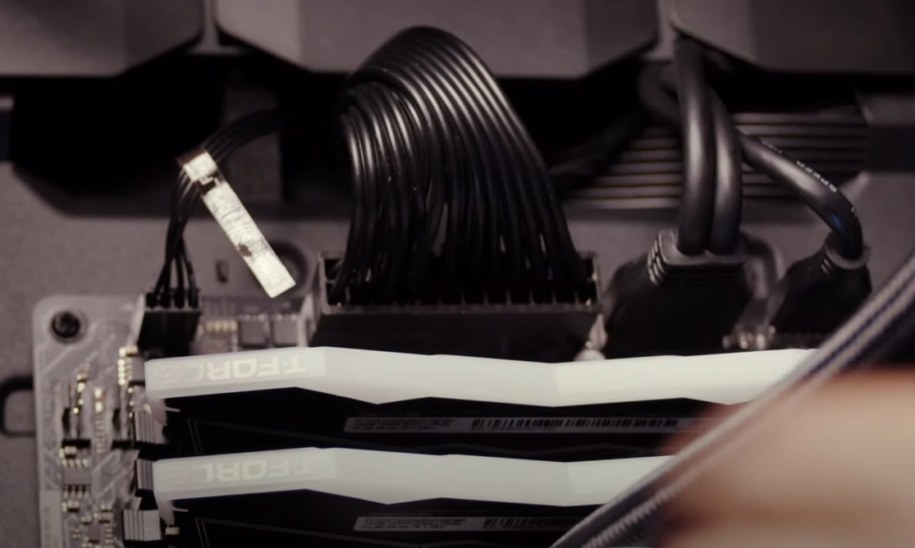
Moving on to your RAM sticks, press down on the top of the gently to ensure they are snapped into place in the memory slots and seated properly.
Moving down to your graphics card, you guessed it – we are going to gently press down again to make sure the graphics card is fully seated in the PCIe slot. Press on the GPU power cable to make sure that is securely connected to the graphics card as well.
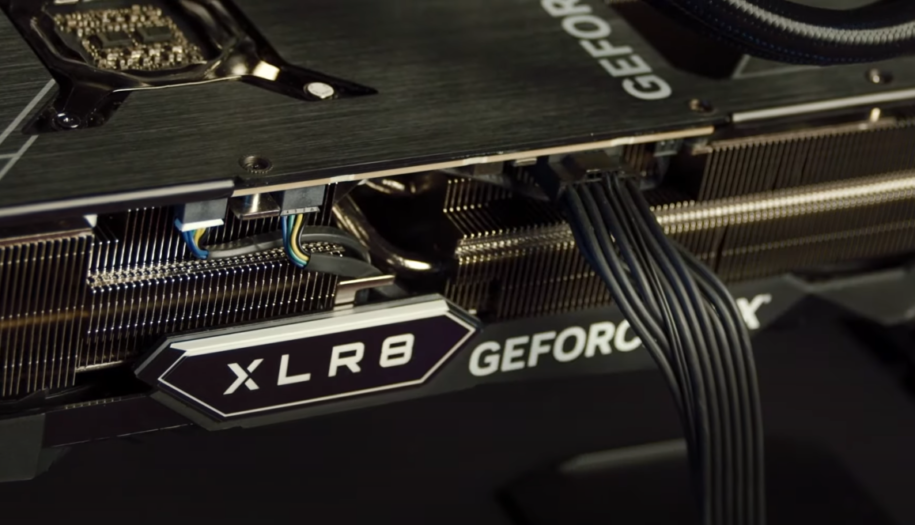
Now that you have double checked that everything is connected properly, move your gaming PC over to your desk or wherever you plan on having it set up
Step 8: Move to Your Desk and Connect Cables
Once your gaming PC is where you want it, it’s time to connect some cables. Flip the PC around so the rear is facing you. You’ll see the motherboard’s IO – which is where you will start connecting things to your PC.
First up you’ll want to plug in any of your USB devices – namely your mouse and keyboard.
After that plug in your display cable of choice – either HDMI or DisplayPort cable – into the graphics card and the other end into your monitor. Pay attention this part is important! Make sure you connect your display cable to your graphics card, NOT the motherboard, this is a common mistake that happens to those that are new to PC gaming and aren’t sure where things go.
Typically our PCs come with a sticker that directs you to where to plug in your display cables.
If for some reason your PC does not have a discrete graphics card, then you will plug your display cable directly into the motherboard.
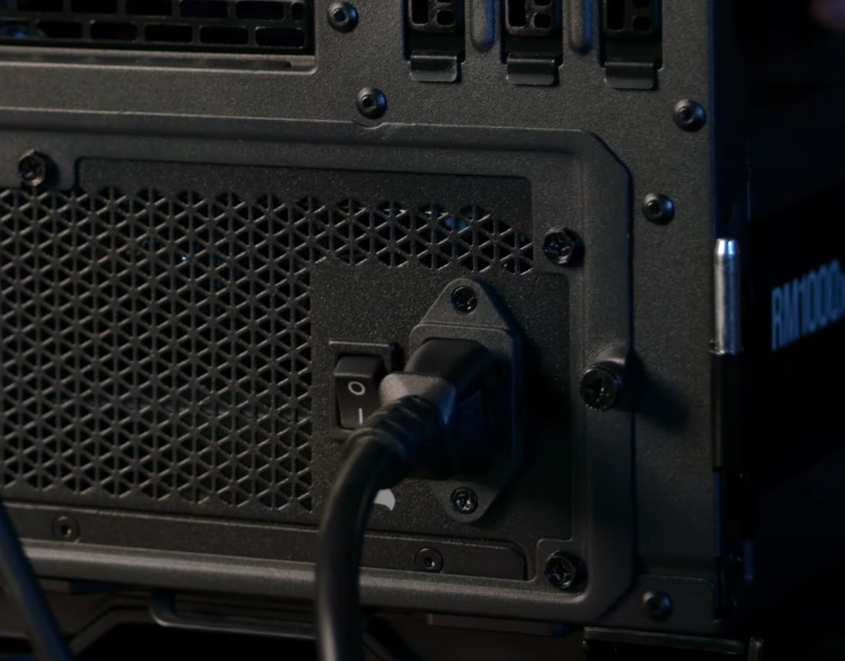
After that, plug your power cable in to the power supply and flip the switch to the “|” line symbol. This means the power supply is ready to power on when you eventually turn on your PC with the case’s power button.
Step 9: Power On
With your power supply switched on it’s time for the most exciting moment of the setup process, actually turning on your gaming PC.
The location of your power button can depend on the case your PC has, but we are confident you should have no trouble locating the big button.
Once you find yours’s, give that thing a press and watch your PC turn on! Windows should boot up into a setup screen.
Everything is working – go ahead and put your side panel back on and get your PC buttoned back up.
Step 10: Complete Windows 11 Setup
You are almost there! Not long now until you are downloading your favorite games and getting ready to experience PC gaming greatness. Simply follow along through the on screen Windows 11 setup to complete installation. After that you’ll be on your Windows desktop and can begin using your new CyberPowerPC gaming PC.
We hope this guide was helpful in the unboxing process. If you prefer follow along videos, we have the same steps detailed in a video available on our YouTube channel, check it out here.