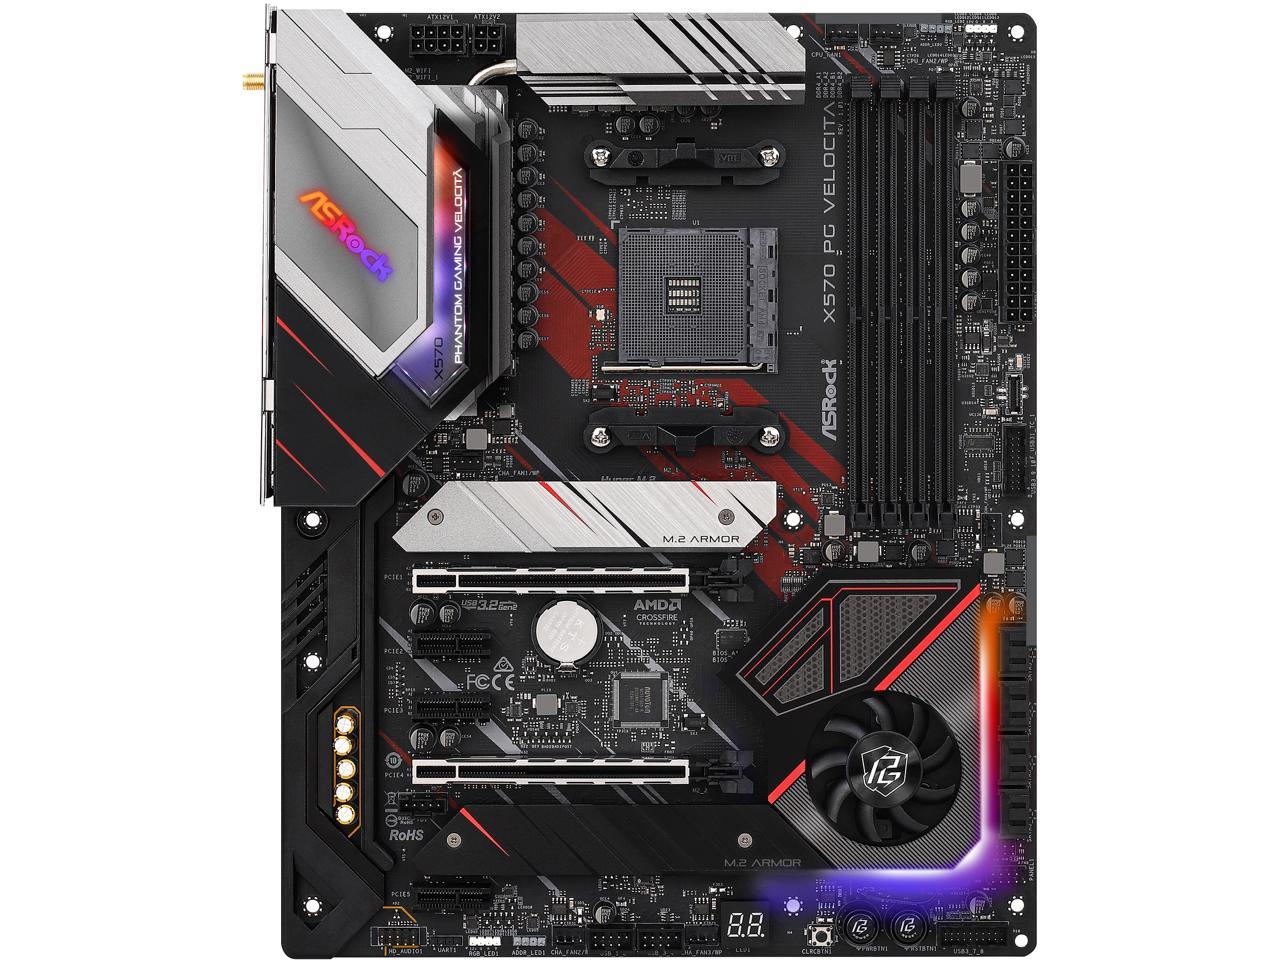
When upgrading your PC’s hardware, one of the most important things to consider is if it is compatible with your unit’s motherboard. Installing any hardware device that is not compatible with your motherboard is certainly a recipe for disaster or issue. There are several methods you can do to check and identify the motherboard installed in your gaming PC. And for today’s article, we’re listing down how each method works.
- 1 – Use Command Prompt
- 2 – Take a Look Inside Your PC Case
- 3 – Check Through Windows System Information
- 4 – Download and install third-party software.
1 – Use Command Prompt
One of the easiest ways you can identify your motherboard is through your command prompt. Follow the steps below on how to use your command prompt to check your motherboard’s model:
- Step 1 – Type “cmd” in the Windows search bar and hit enter.
- Step 2 – In the Command Prompt, type: wmic baseboard get product, Manufacturer.
- Step 3 – The Command Prompt should display your motherboard manufacturer and the name/model of your motherboard model.
When using this method, make sure to type the precise prompt as shown above.
2 – Take a Look Inside Your PC Case
Another way to quickly check and identify your motherboard is to open up your computer. Check the motherboard and look for the manufacturer and model number in it. Make sure you shut down your PC first and unplug the power before doing this method.
The brand, name, and model information of the motherboard are usually printed onto the board itself. However, the placement is rarely consistent due to different layout variations and its chipset components. For most motherboards, the model and brand information can be found near the CPU, along the PCI expansion card. On the other hand, some models have the information printed on the stylized heatsinks.
To help you locate the manufacturer’s name of your motherboard, here’s a list of the most common motherboard manufacturers:
- ASUS
- ASRock
- Biostar
- EGA
- Gigabyte
- MSI
If you have located the manufacturer’s logo on your motherboard but not the model name. Then check the motherboard’s chipset. The model name usually starts with a 4-digit code combining a letter followed by three numbers. As a reference, you can refer to this list of AMD chipsets and Intel chipsets.
Before opening your gaming PC, keep in mind that some pre-built desktop units have warranty. This may restrict you from opening your PC case.
3 – Check Through Windows System Information
You can also use Windows System Information to determine your gaming PC’s motherboard. While this may be the easiest way to do so, there are times when the Windows System Information only shows the motherboard manufacturer but not the exact model number of the unit.
To use Windows System Information to identify your motherboard, follow the steps below:
- Step 1 – Open the Start menu by clicking the Windows logo on your taskbar. You can also press the Windows key on your keyboard as a shortcut.
- Step 2 – Once the menu is open, type “System Information” in the search bar. Click the program and wait for it to run.
- Step 3 – Scroll down on the System Summary tab until you find the details showing Baseboard Manufacturer, Baseboard Product, and Baseboard Version. These should provide the information you’re looking for to identify your motherboard. In case the System Information doesn’t display the complete product and version of the motherboard, it will show details regarding the Baseboard Mode and Baseboard Name.
4 – Download and install third-party software.
Another option that can help you identify and check the model of your motherboard is by installing third-party software. These programs are designed to display their motherboard details, including manufacturer and model. Popular third-party software includes CPU-Z, Speccy, and HWiNFO. Once these programs are installed, they automatically detect and provide details about your motherboard information.
Below is a short guide on how to use each program to check and identify your motherboard:
CPU-Z is free software that gathers information on the main devices of your system. This includes getting information about your processor, mainboard and chipset, memory, and more.
To use CPU-Z, start the program and click the “Mainboard” tab located at the top of the window. This will show your motherboard information once it’s detected.
Speccy is a free utility software by Piriform that runs on Windows 10, 8, 7, Vista, and XP. It works by showing users the information about their PC’s hardware and software.
To use Speccy, open the program and give it a moment to detect your hardware. Once done, it will show a summary page that will list the model of your motherboard and other hardware devices. Check the Motherboard section and click it to see the complete details of your model.
HWiNFO is free software that analyzes, monitors, and reports the hardware information of your gaming PC.
To use HWiNFO, open the program and wait until a few windows pop up. One of these windows will have the summary, save, sensors, and about buttons on top. Find the “Motherboard” list option on its left pane and click it to see the detailed information about your motherboard model.
***
We hope the guides above can help you check and identify your unit’s motherboard manufacturer, model, and version. For more tips on the maintenance of your gaming PC, follow and bookmark our blog.