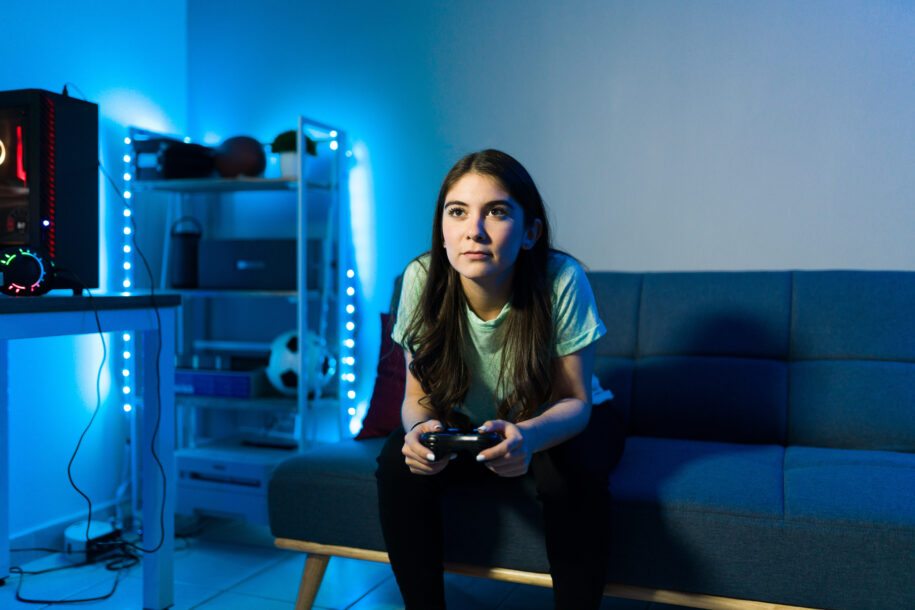
Connecting your gaming PC to a TV is a great way to enjoy your favorite games on a bigger screen and not hunched over at a desk. Whether you’re looking to play from the comfort of your couch or want to share the fun with friends and family, this guide will walk you through the simple process of connecting your gaming desktop to a TV.
1. Check Your TV and PC Compatibility
Before getting started, start by ensuring that both your gaming PC and TV have compatible ports. Most modern gaming PCs and TVs support HDMI connections, which is the easiest and most common way to connect the two.
Ports to Look For:
- HDMI: The most common port on both PCs and TVs. It supports both video and audio transmission.
- DisplayPort: Commonly found on monitors, but some TVs have them.
Most likely HDMI will be the right choice for connecting. If not, you may need to purchase an appropriate cable or adapter.
2. Get the Right Cables and Adapters
Once you’ve identified the compatible ports, gather the necessary cables or adapters. Here’s what you’ll need:
- HDMI Cable: If both your TV and PC have HDMI ports – which they probably do – a standard HDMI cable is all you need.
- DisplayPort Cable: If your TV has a DisplayPort you can use that instead, if you want.
Ensure that your cable is long enough to reach from your PC to your TV, you don’t want a stretched out cable!
3. Connect Your PC to the TV
With the correct cable in hand, it’s time to connect your gaming PC to your TV. Follow these steps:
- Turn Off Both Devices: It’s always a good idea to power off any electronics when connecting things,
- Connect the Cable: Plug one end of the HDMI cable into your one of your PC’s HDMI output ports in the graphics card, same as you do when connecting to your monitor. You know how to do this.
- Power On Your Devices: Turn on your TV and gaming PC. Set your TV to the correct output – you should see your desktop displayed now.
4. Configure Display Settings
After successfully connecting to your TV, configure your display settings in Windows.
- Windows Display Settings: Right-click on your desktop and select “Display settings.” From here, you can manage your display settings.
- Adjust Resolution: Your TV likely has a higher resolution than your PC monitor, so you may need to adjust the display resolution to match. In the “Display settings” menu, you can change the resolution to fit your TV’s specifications, usually 4K.
- Set Audio Output: If your HDMI cable supports audio, you may need to set your TV as the default audio output. Right-click the speaker icon in the system tray, select “Playback devices,” and choose your TV as the default device.
5. Troubleshooting Common Issues
Should you run into any issues, here a some common troubleshooting steps.
- No Signal: Ensure that both devices are powered on and that the TV is set to the correct HDMI input.
- Display Not Scaling Correctly: Adjust the display scaling in the “Display settings” menu to fit your TV screen properly.
- No Audio: Make sure your HDMI cable supports audio and that your TV is set as the default audio device.
- Lower Framerate: If you have your resolution set to native 4K, games will be more demanding on your hardware. Consider lowering graphical settings in game, or using a performance boosting feature like DLSS 3.5 or AMD FSR.
Connecting your gaming PC to your TV is a new way to experience PC gaming. With the right cables, a few adjustments to your settings, and some troubleshooting if needed, you’ll be ready to enjoy your favorite PC games from the couch. Grab a wireless controller, it’s time to kick back and enjoy some games.